Trolls’ Toes Cookies and Witches’ Fingers for Halloween
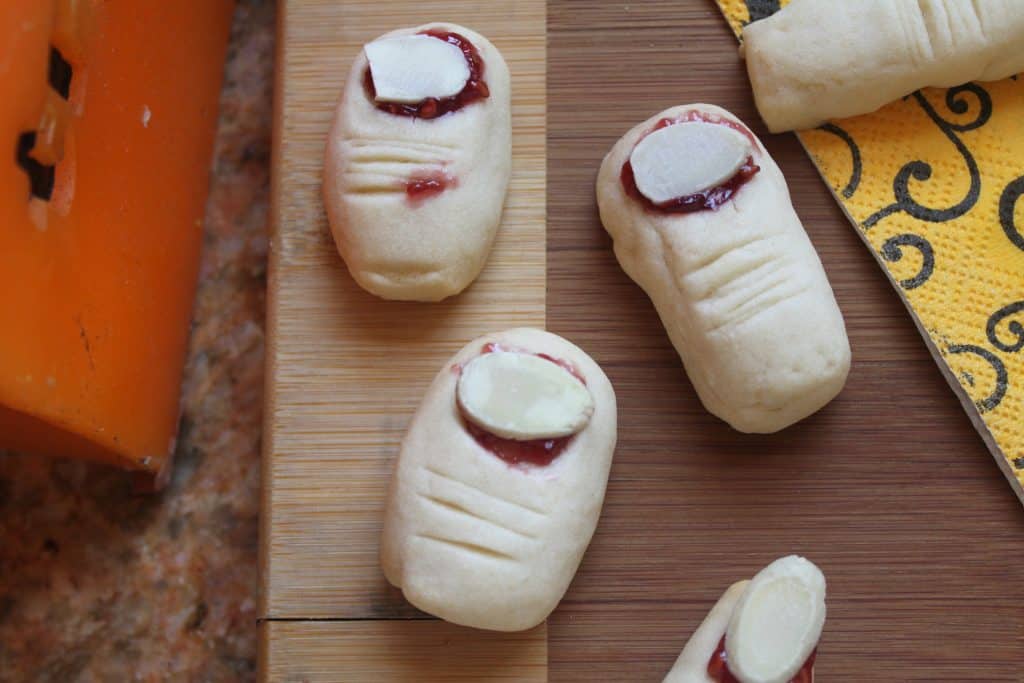
Trolls’ toes and witches’ fingers are the perfect addition to your Halloween baking menu! Throw a few in a treat bag or present them on a plate and just wait for the reactions! I guarantee you lots of “ewwws” and giggles!
My children are no longer at home and Halloween isn’t quite the same anymore.
As an Amazon Associate I earn from qualifying purchases.
Halloween traditions
I won’t wax nostalgic about the costumes, trick-or-treating, or baking that used to be part of our annual repertoire. However, I can’t resist adding one of my favorite photos of my kids: the year my daughter was a princess, and my son, a prince! I don’t quite know how I happened to capture this photo, but I love it.

An Original Idea!
I remember one year when I was making the popular “Witches’ Digits” cookies and had my children help in forming the cookies. I can still remember how hard they laughed at the different fingers we were making.
Recently, I realized how terrible my photo was on the witches’ fingers cookies, so I decided I had to make another batch to re-shoot the photos. Somehow, the image of making toes popped into my head! “Trolls’ Toes”, I immediately thought!
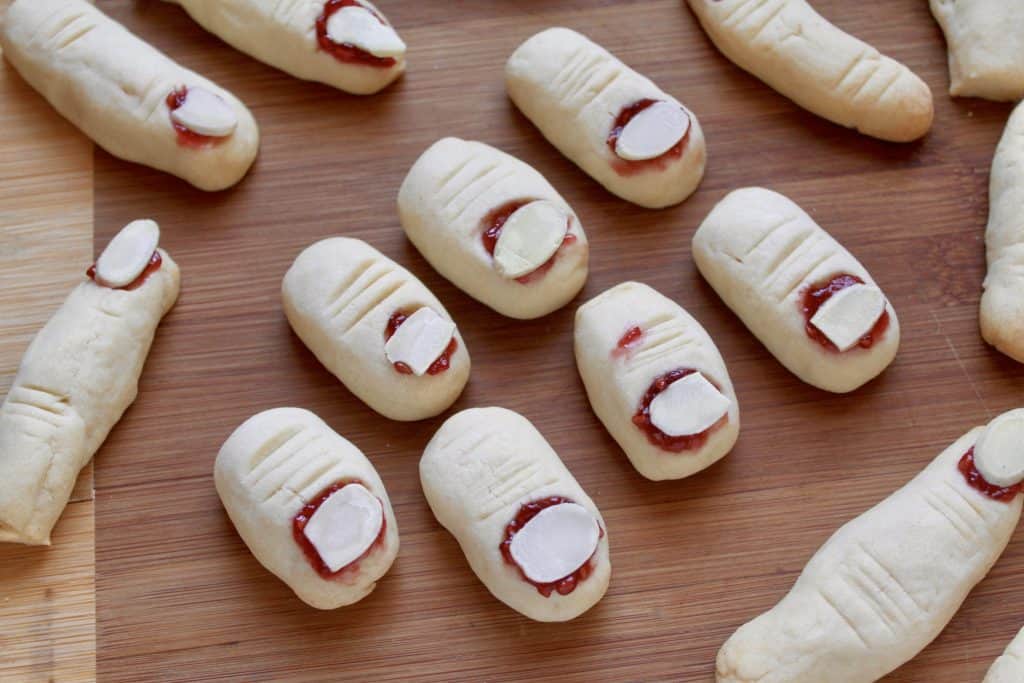
If you make either of these Halloween cookies, you may find that there are some people who are so grossed out at the likeness of real appendages, that they may not even eat them. I assure you, they are quite delicious, though. Just have these scaredy cats close their eyes and try one!
The trolls’ toes and witches’ fingers could even have a touch of green food coloring added, if you like. The recipe for Witches’ Fingers is the same recipe, just shaped differently.
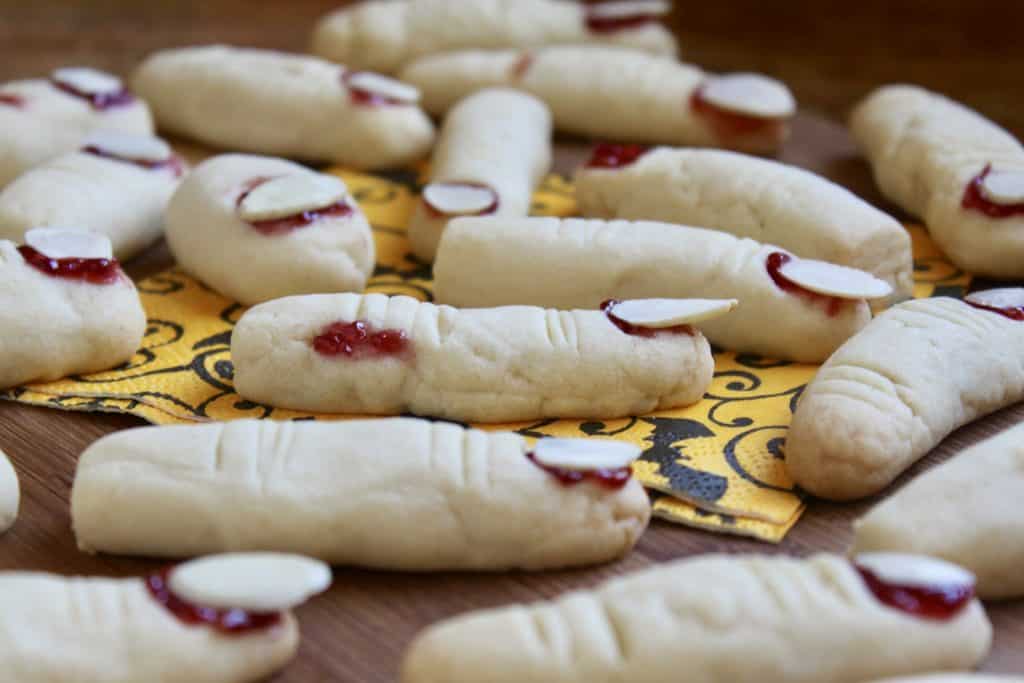
NB: I have searched the internet far and wide and the only Trolls’ Toes I found were knitted creations (and broken breadsticks). At this point, I am the only one that I can see who has had this idea. If you see these popping up on other sites, please let me know. I always give credit to where I found a recipe, and only would like others to reciprocate.
Here’s another more traditional Halloween treat made with peanut butter cups.
Troll’s Toes Halloween Cookies
an original idea by Christina Conte makes about 60 toes
FULL PRINTABLE RECIPE BELOW
Ingredients
- (4 oz) 1/2 cup unsalted butter, at room temperature
- 3/4 cup confectioners’ sugar
- 1 egg
- 1 teaspoon vanilla extract
- (8 oz) 1 1/3 cups all purpose flour
- 1/4 teaspoon baking powder
- 1/4 teaspoon salt
- raspberry jam
- almond slices (pick out the one that aren’t broken)
Preheat oven to 325 degrees.
Directions for Making Trolls’ Toes
- Cream butter and sugar until smooth.
- Add the egg and vanilla and mix well. Gradually add flour, baking powder and salt to the mixture.
- Refrigerate the dough for about half an hour, so it’s not too soft to handle.
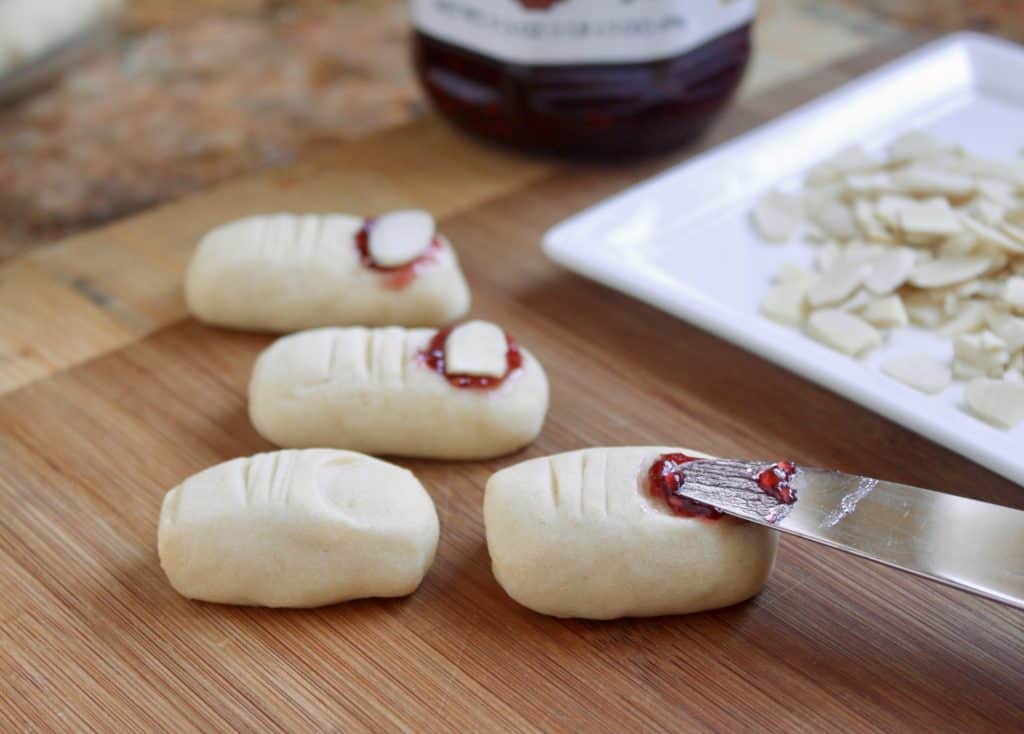
- Begin by taking small pieces of dough and shaping into a fat, stubby “toe” shape. Use the tip of a butter knife to create a nail bed with a few impressions.
- Use a knife to make the line marks below the nail bed of the trolls’ toes.
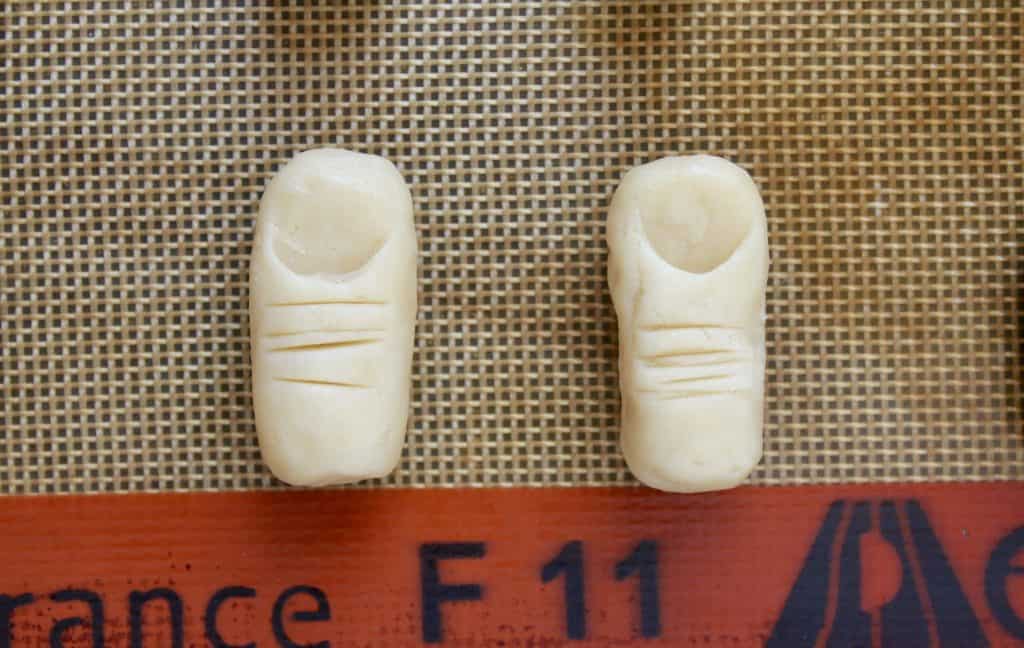
- Place on silicone sheet lined baking tray about 2″ apart. Bake for 15-20 minutes or until just beginning to brown. Cool on rack.
- Finally, put a little jam on the nail bed and add almond slices horizontally to create the nail (trim the ends on long slices).
How to Store Trolls’ Toes
Store the trolls’ toes cookies in a tin for best results. They will keep for a few days, longer if they are not decorated with the jam.
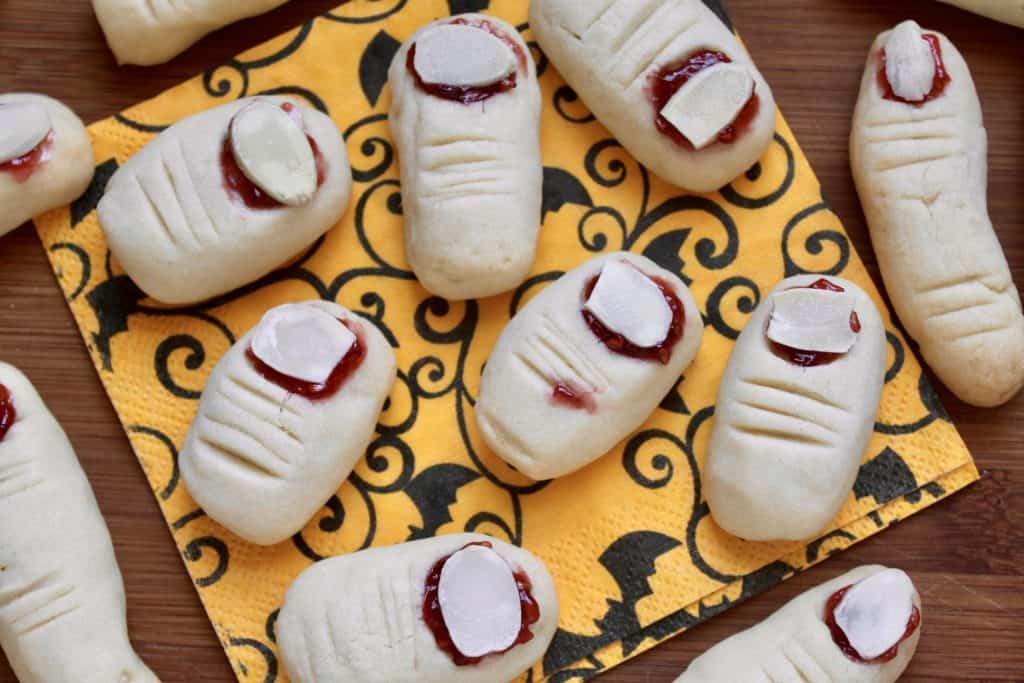
Happy Halloween, enjoy your Trolls’ Toes!
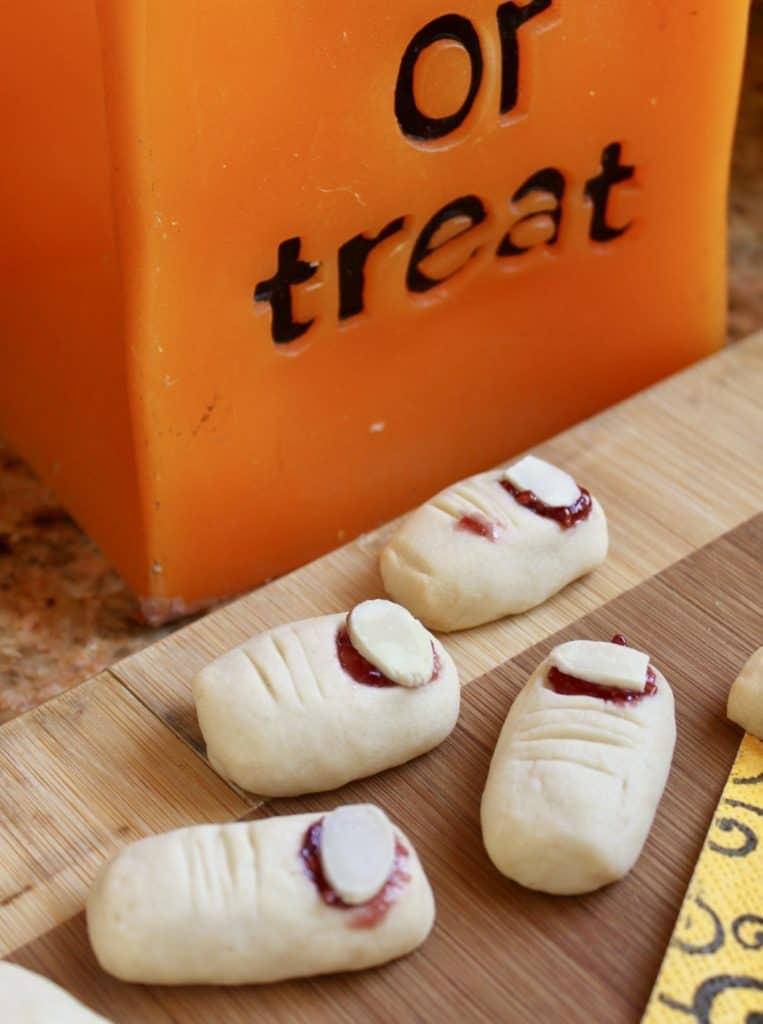
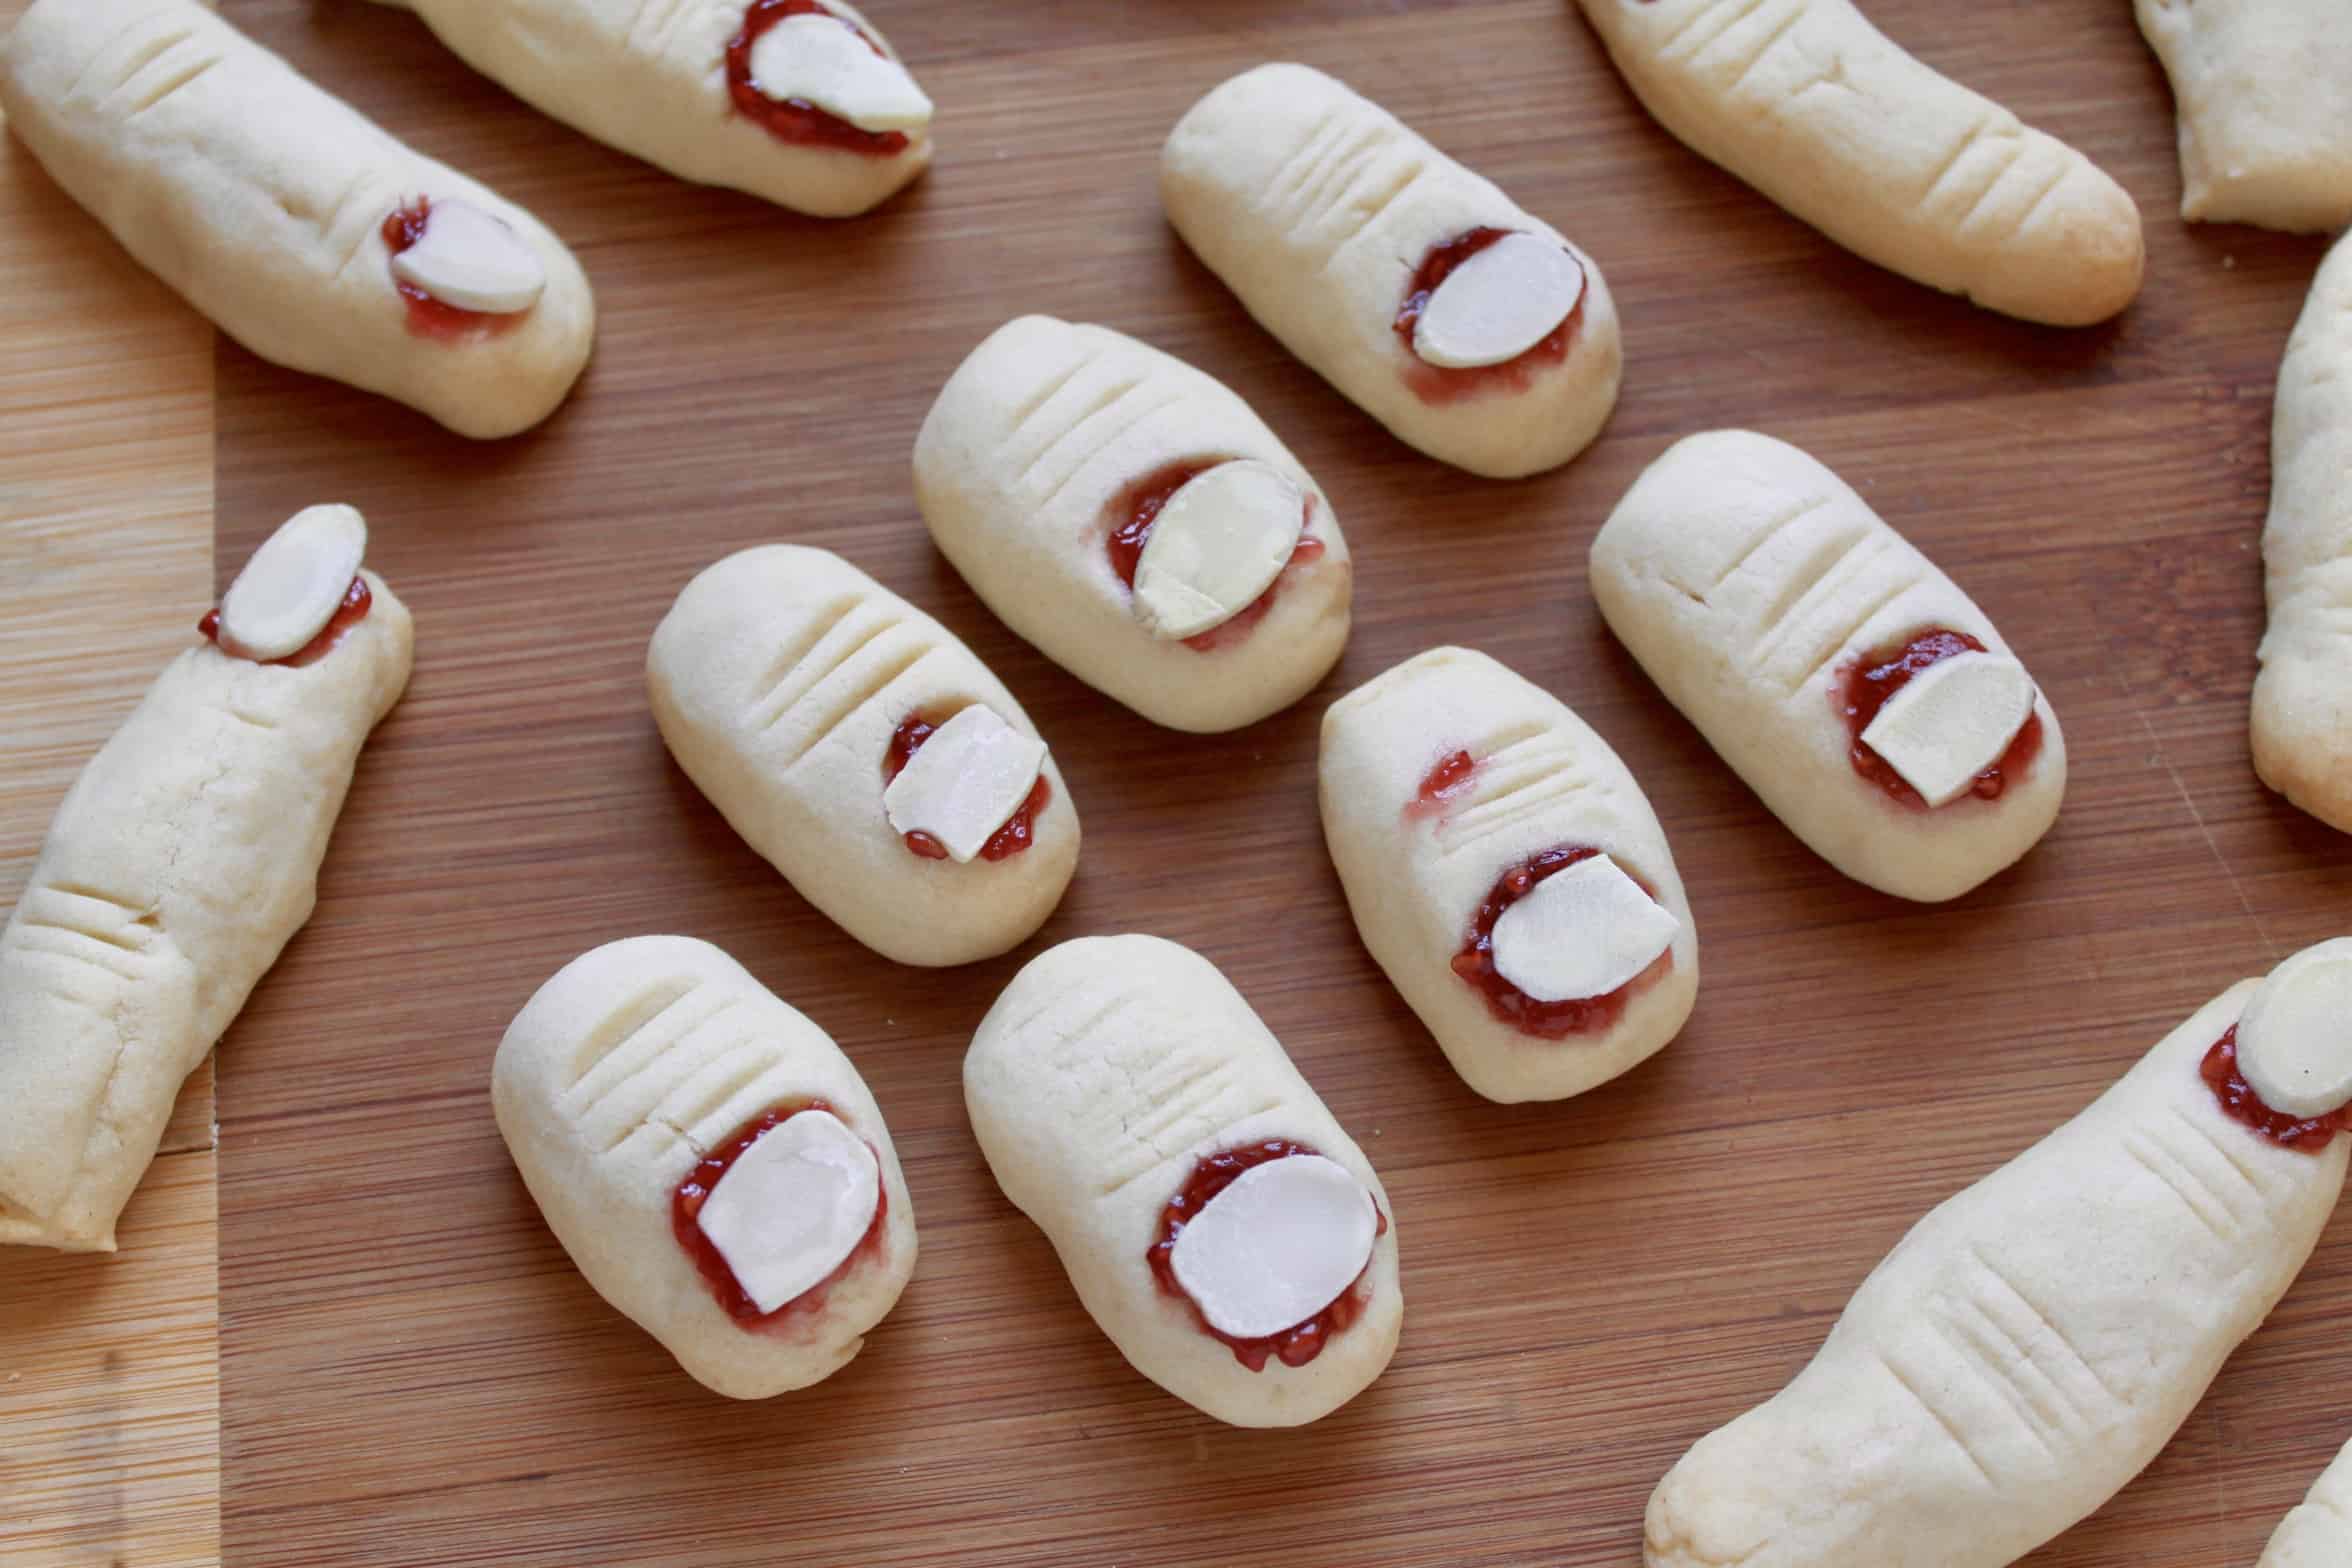
Trolls' Toes Cookies
Ingredients
The Cookies:
- 4 oz butter (unsalted, good quality, and at room temperature)
- ¾ cup confectioner's sugar (powdered sugar/icing sugar)
- 1 egg
- 1 tsp vanilla extract (good quality)
- 1 ⅓ cups flour (all-purpose)
- ¼ tsp baking powder
- ¼ tsp salt
For Decorating:
- 4 oz raspberry jam (more or less, as needed)
- 60 slices of almonds (thin, pick out the one that aren't broken)
Instructions
- Preheat oven to 325 degrees.
- Cream butter and sugar until smooth.
- Add the egg and vanilla and mix well. Gradually add flour, baking powder and salt to the mixture.
- Refrigerate the dough for about half an hour, so it’s not too soft to handle.
- Begin by taking small pieces of dough and shaping into a fat, stubby “toe” shape. Use the tip of a butter knife to create a nail bed with a few impressions.
- Use a knife to make the line marks below the nail bed.
- Place on silicone sheet lined baking tray about 2″ apart. Bake for 15-20 minutes or until just beginning to brown. Cool on rack.
- Put a little jam on the nail bed and add almond slices horizontally to create the nail (trim the ends on long slices). Store in a tin.
Notes
Nutrition
Christina’s Cucina is a participant in the Amazon Services LLC Associates Program, an affiliate advertising program designed to provide a means for sites to earn advertising fees by advertising and linking to Amazon.com.


16 Comments