Flower Cupcakes – Easy Step by Step Directions
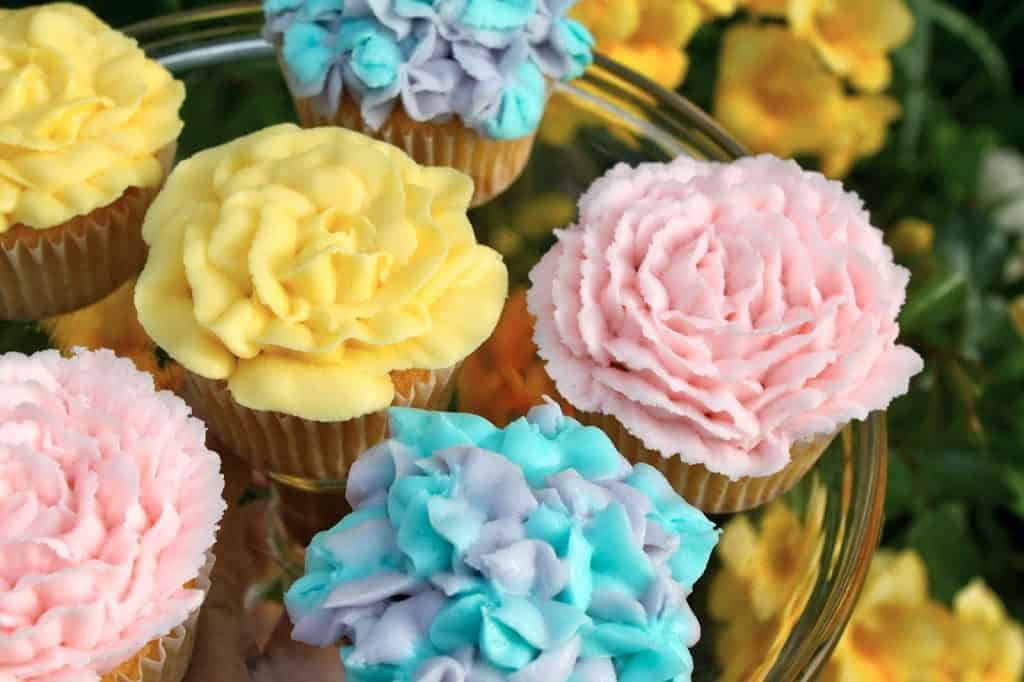
Flower cupcakes in the form of carnations, camellias and hydrangeas really set the mood for spring. Lovely for bridal showers or many other occasions!
Originally published March 21, 2013.
Happy spring to everyone! These flower cupcakes are much easier to make than you could ever imagine, especially with my step by step instructions!
As an Amazon Associate I earn from qualifying purchases.
Here in Los Angeles, the weather is definitely one of our best features (that just sounds so L.A., doesn’t it?) This marvelous weather brings year round flowers of one kind or another. By mid March, it’s already the end of camellia season; daffodils have drooped and dried, but fragrant freesia and violets are in full bloom, and roses are working on getting their first buds to unfurl.
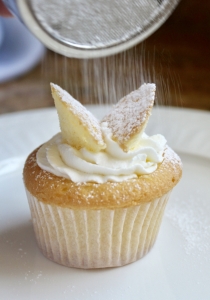
Here’s another cupcake idea for spring: butterfly cupcakes recipe.
If the cold weather and snow has got you down, making some flower cupcakes will at least help you get started in “thinking” spring!
Are Flower Cupcakes Difficult to Make?
Flower cupcakes are easy to make if your buttercream is the right consistency and you have good instructions. I’ve added my usual step-by-step photos so you can see that they’re not very difficult to make, at all. Have fun, and before you know it, Mother Nature will finally get that memo!
Flower Cupcakes (Recipe and How to Decorate)
24 cupcakes, your choice (here are two of my favorites: buttermilk chocolate and pumpkin carrot)
FULL PRINTABLE RECIPE BELOW
Buttercream Icing (Frosting)
Ingredients
- 1/3 cup (1.3 oz) butter, room temperature
- 1 lb confectioner’s (powdered) sugar
- 1/4 cup (2 oz) milk
- 1/2 tsp vanilla
- food coloring (omit for cream colored icing)
Special Equipment:
In a stand mixer or with a hand mixer, combine the butter, sugar, milk and vanilla until smooth and creamy. Divide into 2 or 3 bowls (as many colors as you want) and tint with food coloring to the desired shades.
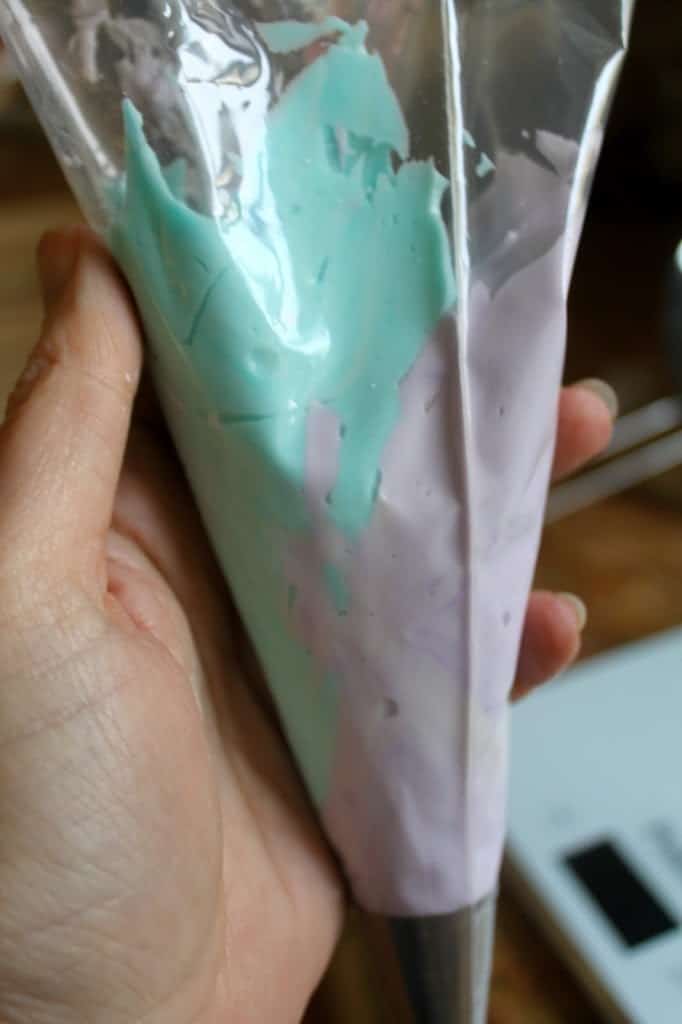
Cover the bowls to keep the frosting from hardening when not in use. Place the frosting in a piping bag and follow the directions below.
How to decorate hydrangea flower cupcakes
With one color, usually, pink, purple, blue or white, (or you can blend two, such as blue and purple) and using a 2D tip, start piping flowers onto the cupcake, until it’s covered.
Here is a professional on the job, you can check out Glory’s creations at Glorious Treats!
How to decorate carnation cupcakes
Using a 104 tip, make a circular start in the center of the cupcake. Then, holding the tip so that it pipes vertically, pipe long straight “petals” around, and around…
until the cupcake is covered.
How to decorate camellia flower cupcakes
Also using a 104 tip, make a central piping in the center.
This time, hold the tip at a 45º angle, and form petals from the center, starting each new one under the last one, and continuing until the cupcake is covered. This just takes a little practice.
Show them off on a plate together when you’re finished.
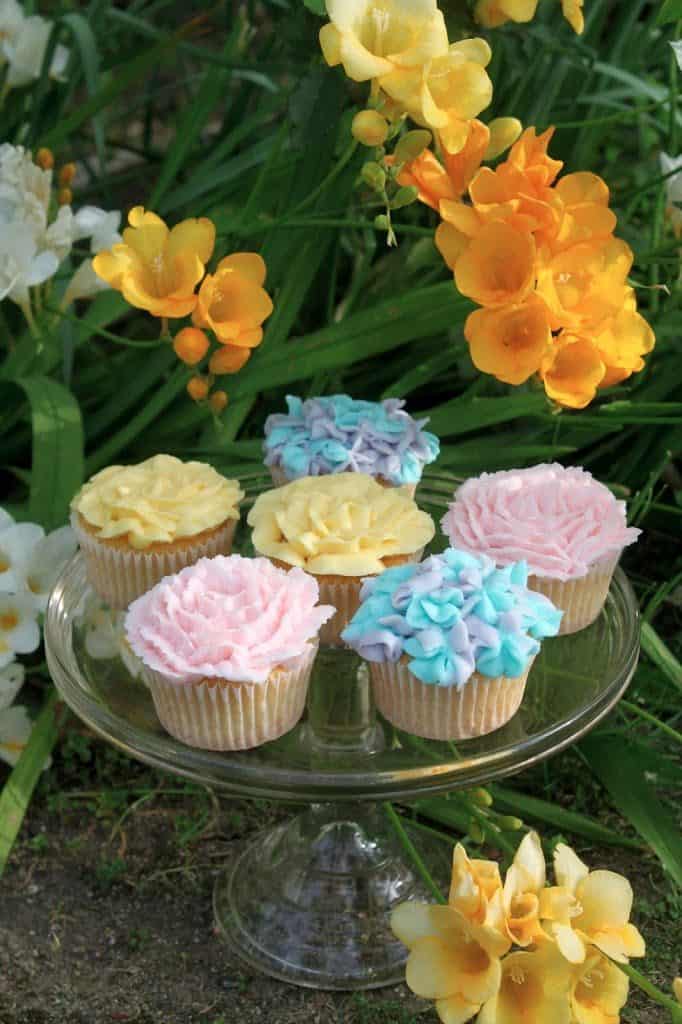
Aren’t they lovely?
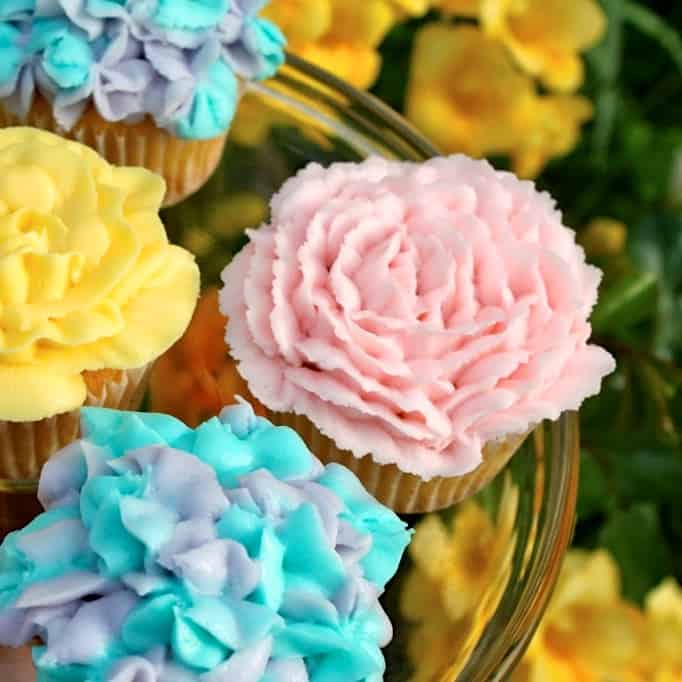
More springtime cupcakes? Cynthia from What a Girl Eats has these coconut cupcakes, and Janice from Farmersgirl Kitchen gives us a chocolate cupcake recipe for Easter!
Don’t miss another post! Sign up for my free subscription for food and travel below.

Flower Cupcakes: Decorate to Celebrate!
Special Equipment
Ingredients
- ⅓ cup butter room temperature
- 1 lb confectioner's sugar
- ¼ cup milk
- ½ tsp vanilla
- food coloring omit for cream colored icing
Instructions
- In a stand mixer or with a hand mixer, combine the butter, sugar, milk and vanilla until smooth and creamy. Divide into 2 or 3 bowls (as many colors as you want) and tint with food coloring to the desired shades.
- Cover the bowls to keep the frosting from hardening when not in use. Place the frosting in a piping bag and follow the directions below.
How to decorate hydrangea cupcakes:
- With one color, usually, pink, purple, blue or white, and using a 2D tip, start piping flowers onto the cupcake, until it's covered.
- You can also blend two, such as blue and purple.
How to decorate carnation cupcakes:
- Using a 104 tip, make a circular start in the center of the cupcake.
- Then, holding the tip so that it pipes vertically, pipe long straight "petals" around, and around until the cupcake is covered.
How to decorate camellia cupcakes:
- Also using a 104 tip, make a central piping in the center.
- This time, hold the tip at a 45º angle, and form petals from the center, starting each new one under the last one, and continuing until the cupcake is covered. This just takes a little practice.
Notes
- Change the colors to suit your party them or flower choices.
Nutrition
Here’s a recipe you can use to make these gorgeous flower cupcakes.
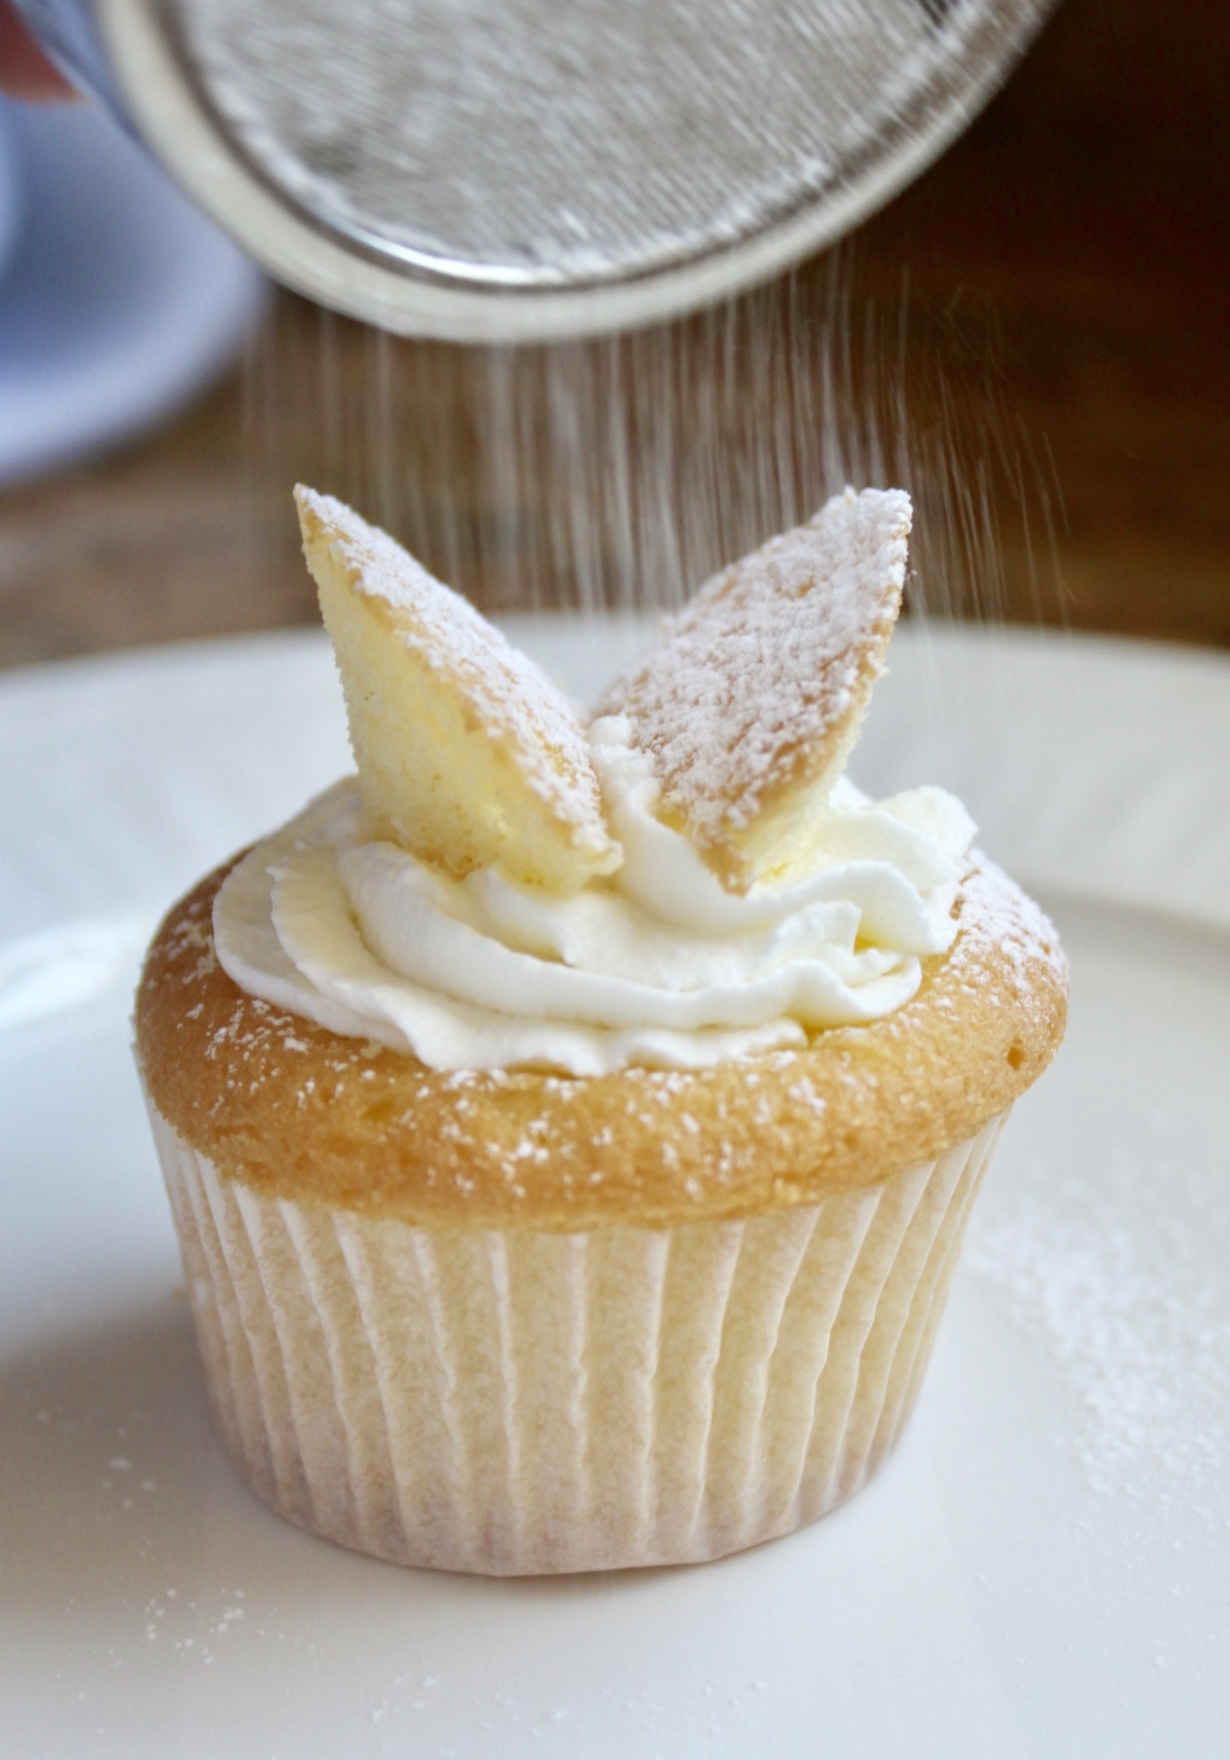
Butterfly Cupcakes (Traditional British Butterfly Cakes)
Ingredients
- 10 oz unsalted butter good quality, at room temperature
- 1 ¼ cups superfine or Baker’s sugar caster sugar in the UK
- 6 eggs beaten
- 2 cups self-rising flour or all purpose flour with 2 tsp baking powder, SIFTED
- a good pinch of salt
To Decorate
- 1 jar raspberry jam good quality; I like Mackays or Bonne Maman (you won't use the entire jar)
- 1 cup heavy whipping cream whipped
- powdered sugar for dusting
Instructions
- Prepare cupcake tins with paper liners.
- Preheat oven to 350º F (175º C)
- In a stand mixer or using a handheld mixer, cream the butter and sugar until very light and fluffy. It will begin to pale in color, too.
- Add about one third of the beaten eggs, and mix well at medium speed.
- Then add about a third of the sifted flour. Repeat this step. Add the rest of the eggs and mix well, then turn the mixer to low and add the final flour. Just mix until well combined.
- Fill the cupcake liners half full with the batter and bake for 25 to 30 minutes or until a skewer comes out clean when placed in the center of a cupcake.
- Remove cupcakes from the tin, place on cooling rack and allow to cool completely. When ready to decorate, cut out the center of each cupcake, angling the knife at a 45º angle.
- Then cut the loose piece in half to resemble butterfly wings. Place a small amount of jam in the center. Follow with a dollop of cream (or buttercream, if desired). You can also pipe the cream like I did. Next, place the "wings" on top.
- Repeat with all of the cupcakes, then dust each one generously with powdered sugar. Serve immediately, or refrigerate until ready to serve.
Notes
Nutrition
Christina’s Cucina is a participant in the Amazon Services LLC Associates Program, an affiliate advertising program designed to provide a means for sites to earn advertising fees by advertising and linking to Amazon.com.






These are the prettiest cupcakes! What a great way to welcome in spring. You make it look so easy too!
Thanks, Cynthia!
I totally agree! So very elegant. My family would flip.
Those are so gorgeously decorated!
Thanks, dear!
SO pretty! Love these. You are so talented with the pastry tip. I only use a zip-lock bag. Ha! So it’s always a smooth pattern. I should definitely do some experimenting with your instructions. :-)
Come on over! We’d have fun!
Wow, Christina! Those look absolutely beautiful! I love your technique for piping roses.