Homemade Greek Gyros (Easy to Make in a Loaf Tin)!
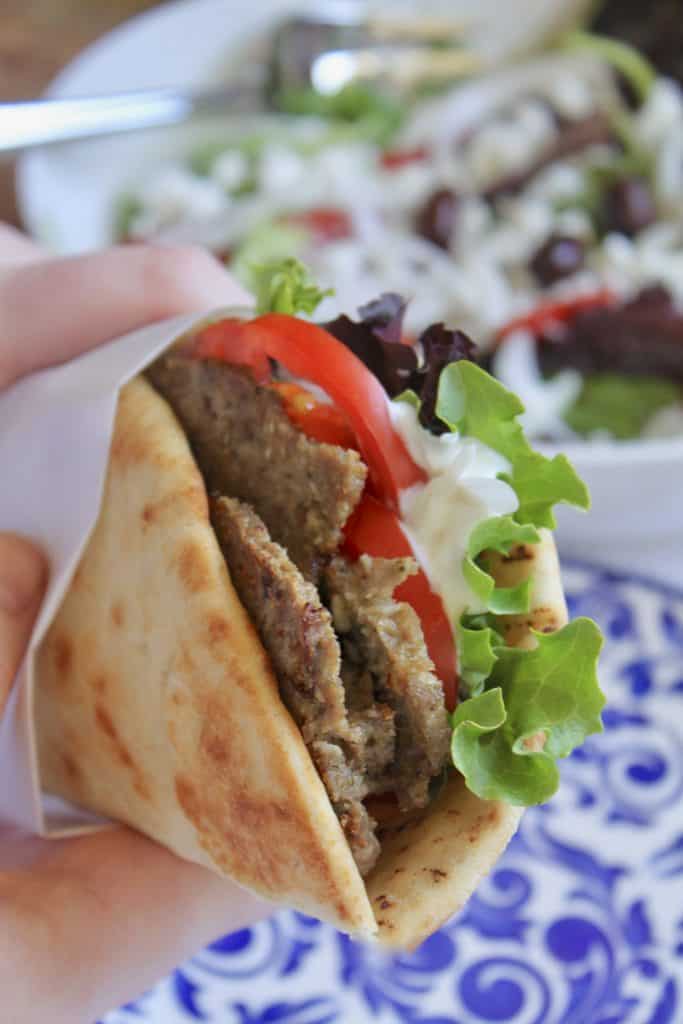
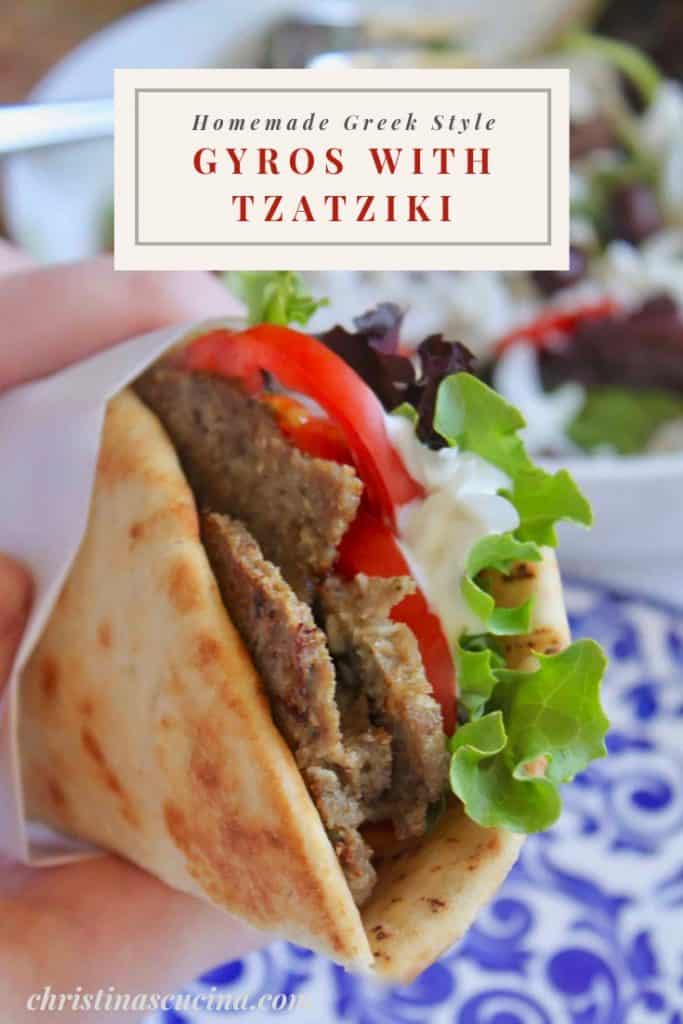
Homemade Greek gyros are SO easy to make at home (baked in a loaf tin)! You’ll see that you can re-create these yummy Mediterranean delights in your own kitchen!
Originally published August 20, 2012.
Do you and your family love gyro sandwiches from your local Greek restaurant as much as my family and I do?
As an Amazon Associate I earn from qualifying purchases.
Then you’re in the right place, because you are going to be very happy to learn that you can make gyros in your own kitchen that taste like they do from that restaurant. It’s great to know that homemade Greek gyros are as easy to make as a meatloaf (maybe easier)!
One problem many families have is balancing after school activities and having time for a healthy dinner. Besides slow cooker dinners, another option is freezing meals.
Falafel with tzatziki sauce are great to go along with gyros.
Freezing some foods is definitely a put-off because of how they taste when defrosted, but others, like lasagna, are perfectly suited to the freezer. Luckily, gyros are in the latter category.
How do you Pronounce “Gyro” in America?
Before we go any further, let’s deal with the pronunciation of this Greek word: I’m not Greek, but saying “jai-roh” just sounds like saying “broo-shetta” for bruschetta to me. The best way to say “gyro” in the US is “YEER-oh,” without the hard “g.”
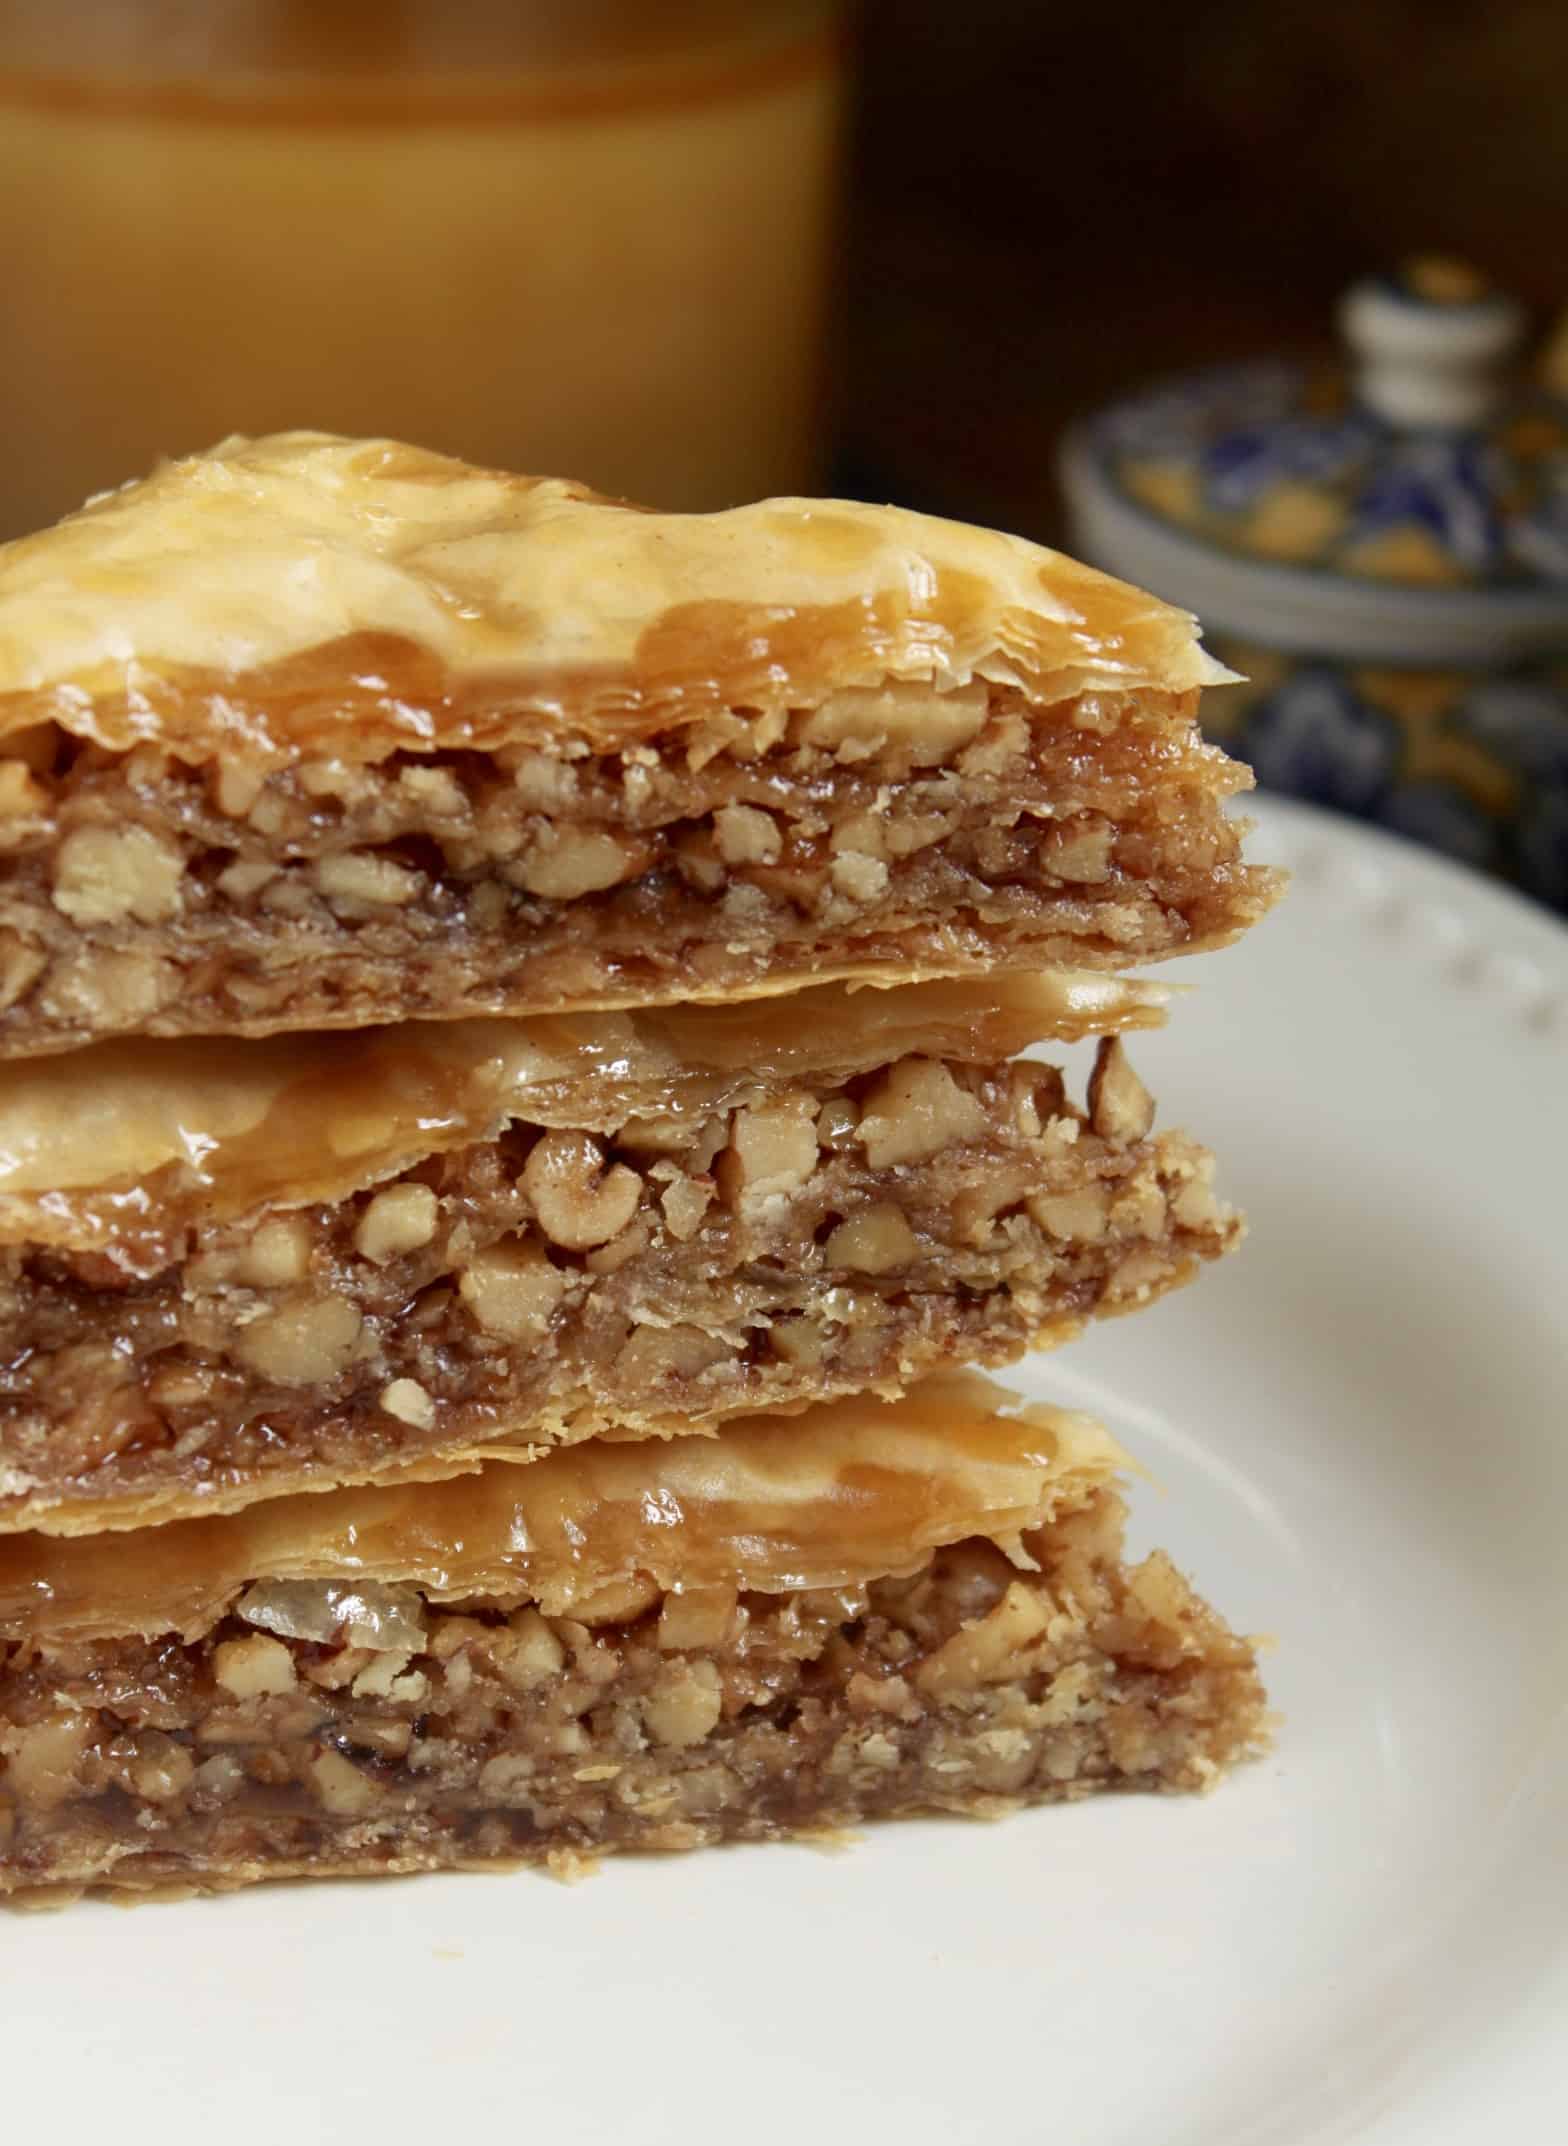
Try my step by step baklava recipe–t’s not difficult, I promise! You’ll get rave reviews!

Homemade Greek Gyros: A Delicious Crowd Pleaser
Last year, I discovered Alton Brown’s recipe for homemade gyro sandwiches which had such rave reviews, I decided to give it a try.
You may also enjoy this Greek-inspired recipe for tiropita.

It wasn’t difficult to make, at all. In fact, I was surprised at how few ingredients were in the meat mixture, and how outstanding it tasted! My family devoured them. I was elated over accomplishing yet another feat in the kitchen: making homemade Greek gyros that tasted phenomenal.
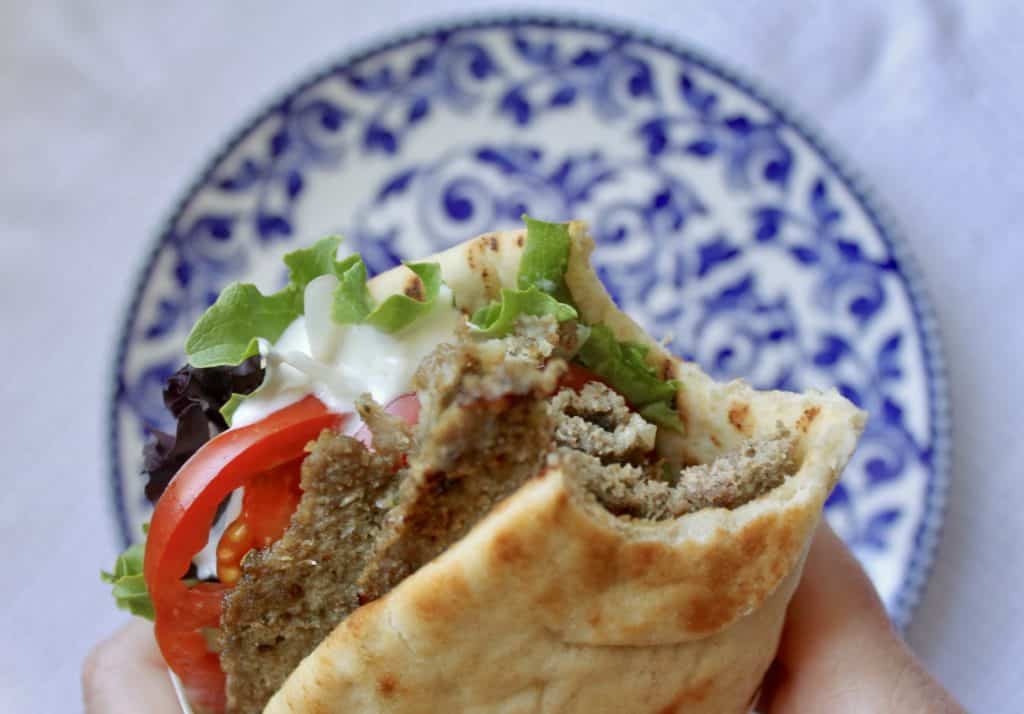
Pita Bread for the Gyro Sandwich.
You’ll want to buy the soft, thick Greek pita bread for gyro sandwiches. However, you can always make my fried bread dough, which is absolutely delicious, and is great paired with this meat.
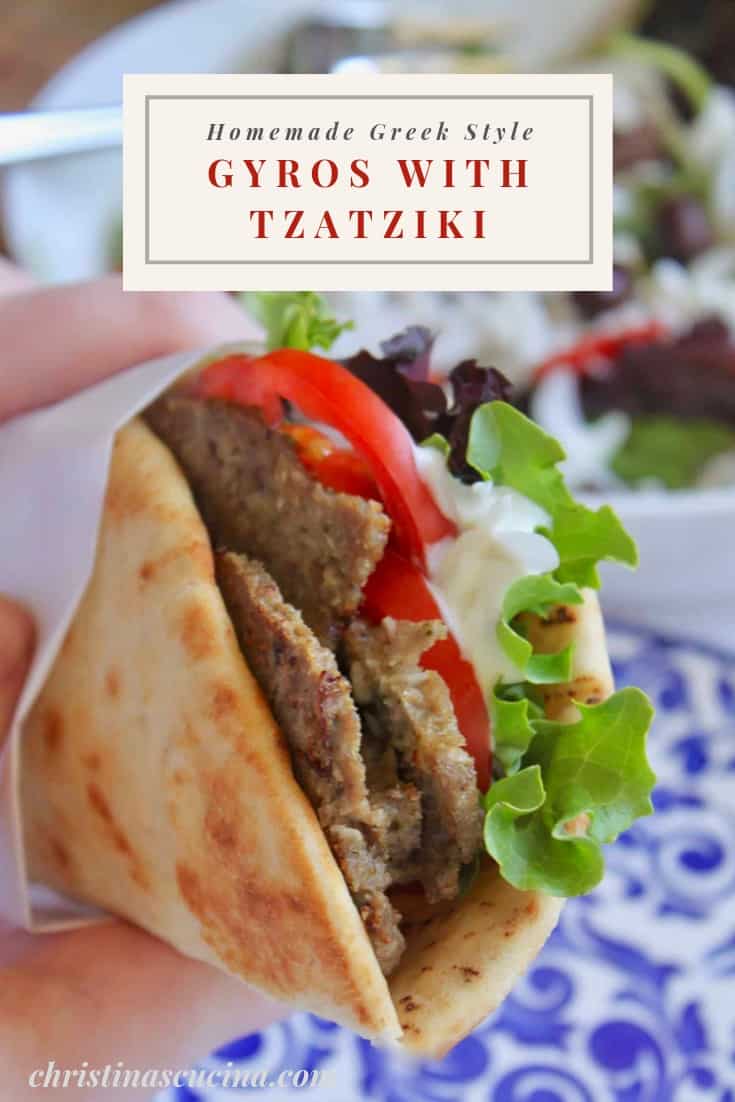
Gyro Meat Freezes Perfectly!
Unless you’re having a large group for dinner, this recipe makes a lot of homemade gyros. However, this is not a problem, just freeze the leftover meat, right after slicing it. The pita freezes perfectly too. Imagine having delicious homemade gyros on a weeknight- a quick salad and dinner’s ready!
Here is my version of Alton Brown’s recipe, as I made some changes, mainly with the ingredients (beef and lamb vs just lamb). I also added a step to make them more crisp, which imitates a rotisserie method quite nicely.
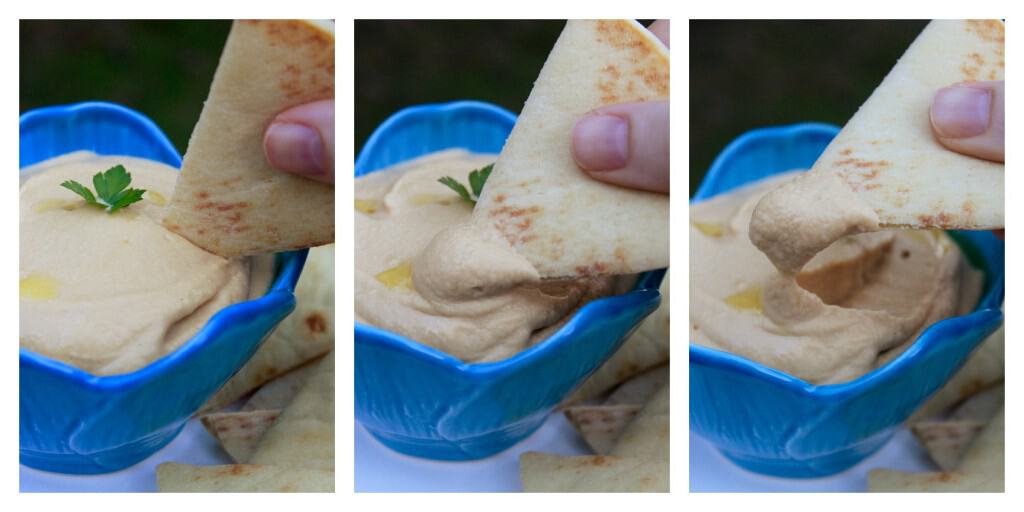
Why not make some hummus to enjoy alongside your gyros, maybe with some pita chips? Some fries and a Greek salad would be a feast!
How to Make Homemade Greek Gyros
adapted from Alton Brown’s recipe (please note, I’m not claiming these to be authentic,
I just really like Alton Brown’s recipe) serves 8
FULL PRINTABLE RECIPE BELOW
What You’ll Need
- a food processor
- kitchen towel (not one of your favorites, as it may get stained)
- loaf pan
- 9×13 baking pan
- aluminum foil
- sharp knife, or electric knife
- cutting board
- frying pan
- tongs or spatula
Ingredients
- onion
- ground beef
- ground lamb
- garlic
- marjoram
- rosemary
- salt
- ground black pepper
To Serve
- tzatziki sauce (printable recipe below)
- lettuce
- tomatoes
- sweet onion
Directions
Step 1: Prepare the Homemade Greek Gyros Meat Mixture.
Run the onion in a food processor for about 15 seconds.
Place the onion in the center of a kitchen towel and squeeze out the juice and return the onion pulp to the food processor.
Add the meat, garlic, spices, salt and pepper to the onion, and process.
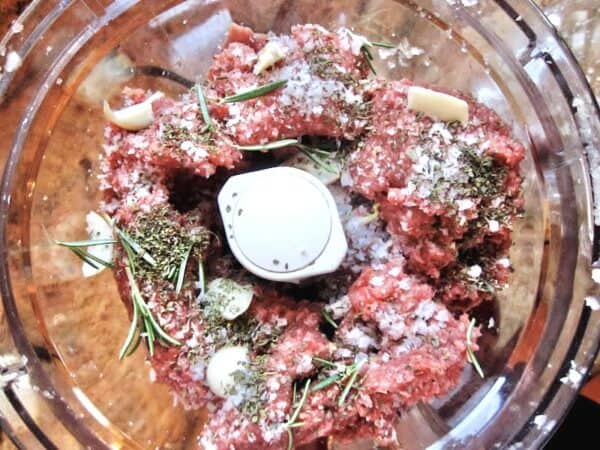
Continue until it looks like a fine paste, about a minute.
Place the meat mixture in a loaf pan and press evenly.
Step 2: Bake the Meat and Rest
Bake in a water bath (place loaf pan inside another pan (I use a 9 x 13″ baking pan) filled with water at 325°F (165°C) for about an hour and 20 minutes, or until the internal temperature reaches 170°F (77°C) when checked with a meat thermometer.
Remove from the oven, drain the liquid, and place the loaf pan on a trivet or oven mitt. Cover the meat with aluminum foil for about 15 minutes.
Step 3: Extra Step for an Authentic Homemade Greek Gyros Taste
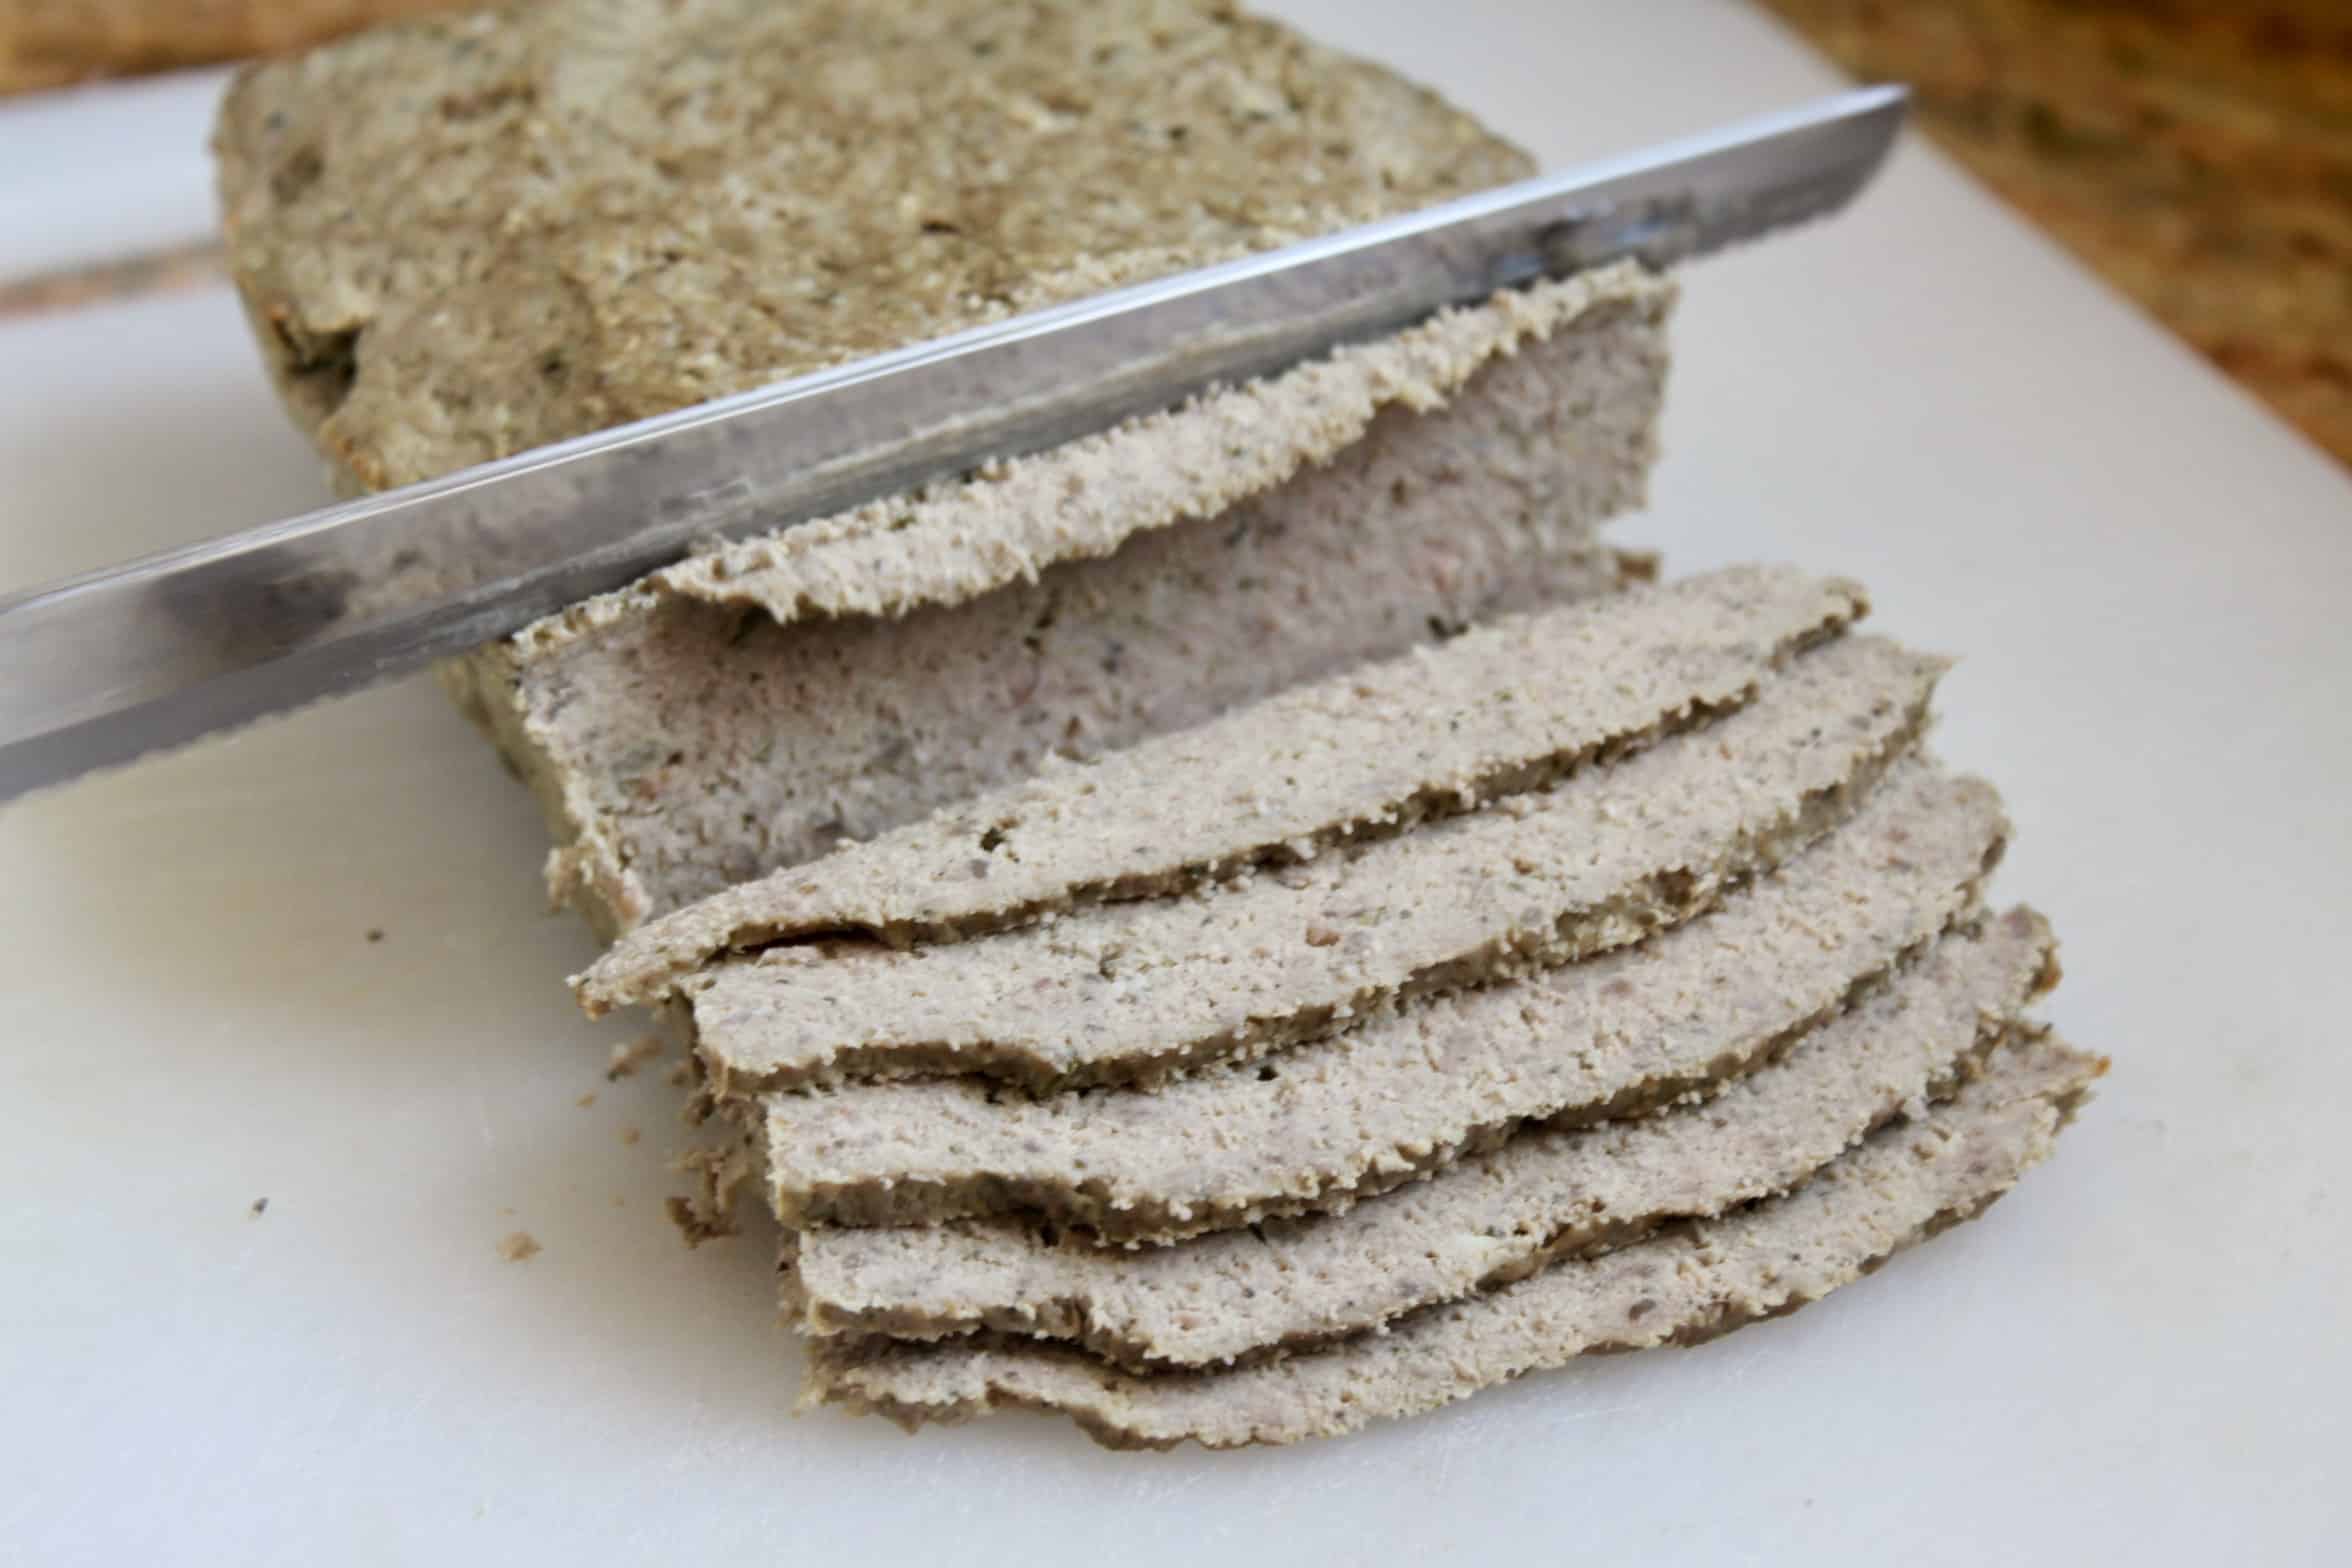
Place meat on a cutting board and slice as thinly as possible, preferably with an electric knife as it makes the job quite easy.
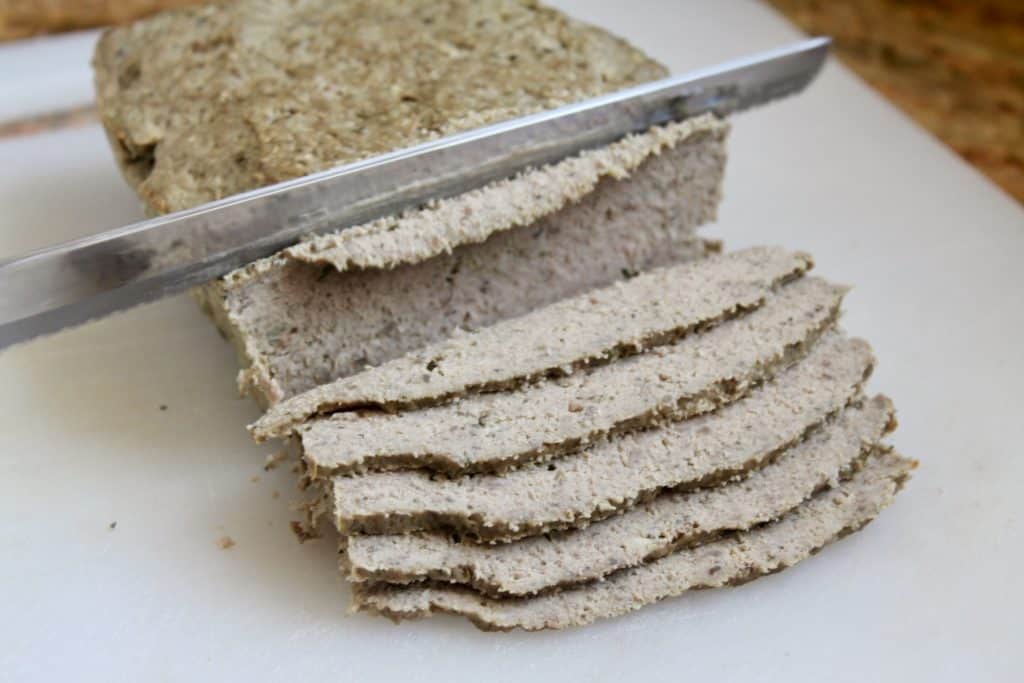
I added the following step myself as I think it mimics the rotisserie flavor a bit more, and gives those crispy bits we all love! Add a few slices to a nonstick frying pan with very little olive oil, and heat until the meat browns a little. I highly recommend this!
Step 4: Assemble and Serve the Homemade Greek Gyros
In another pan, heat the pita bread. If you can’t find pita bread, you could always make my fried bread recipe, but cook it without the oil.
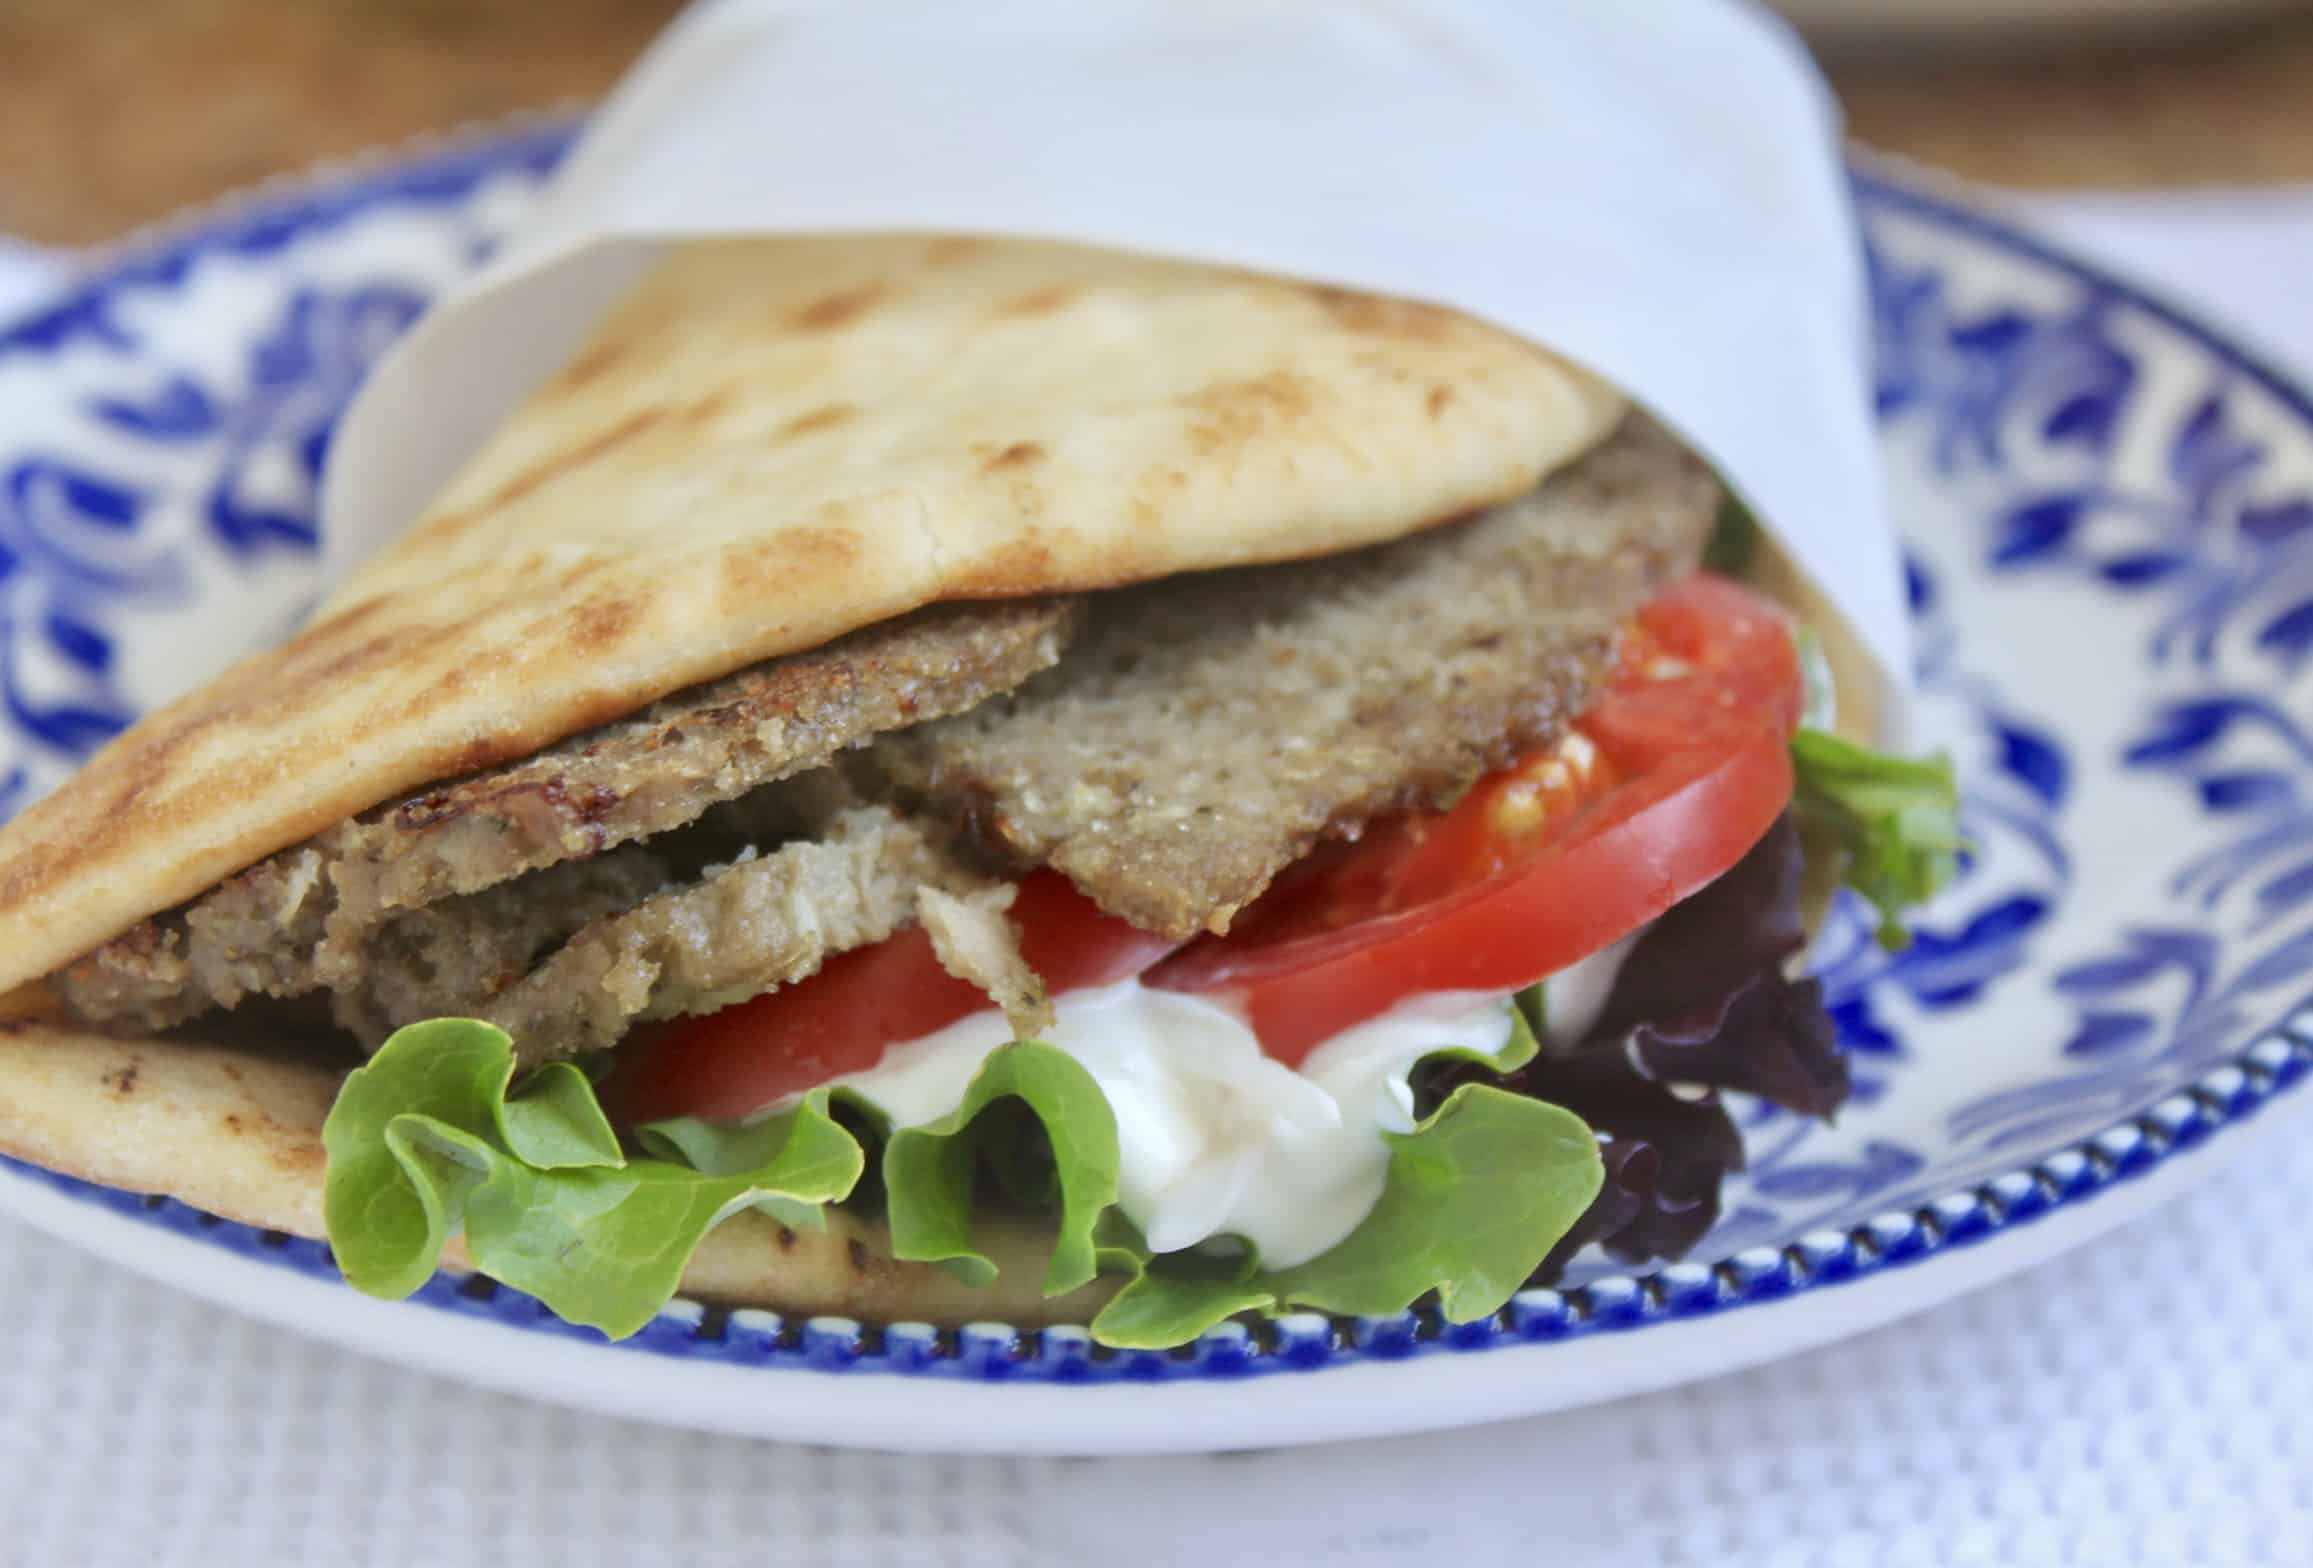
Finally, place the meat on one half of the pita bread.
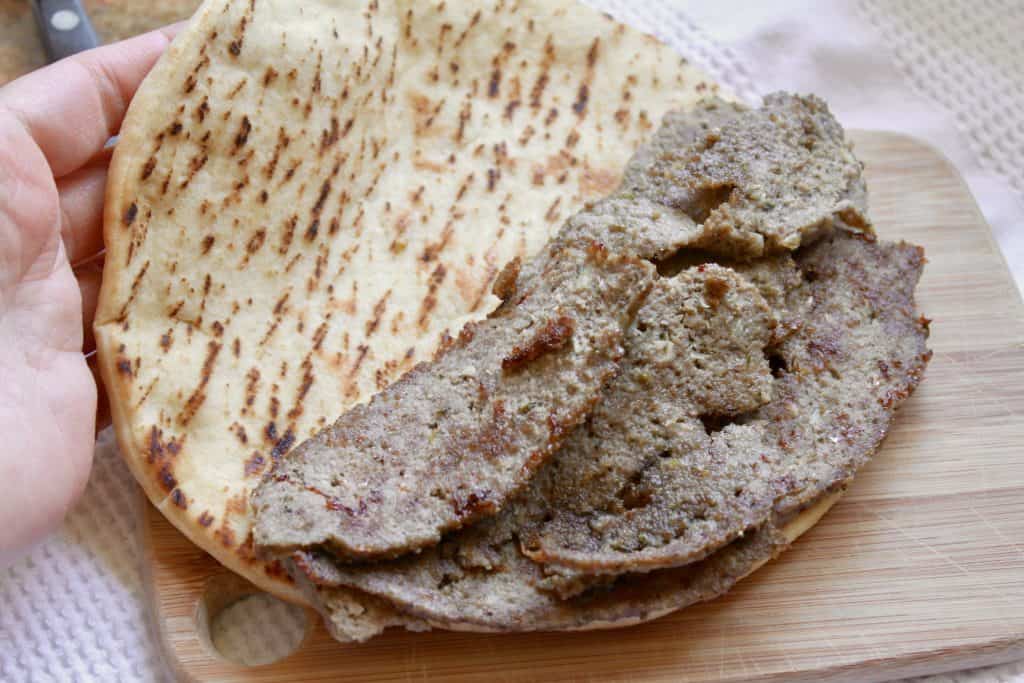
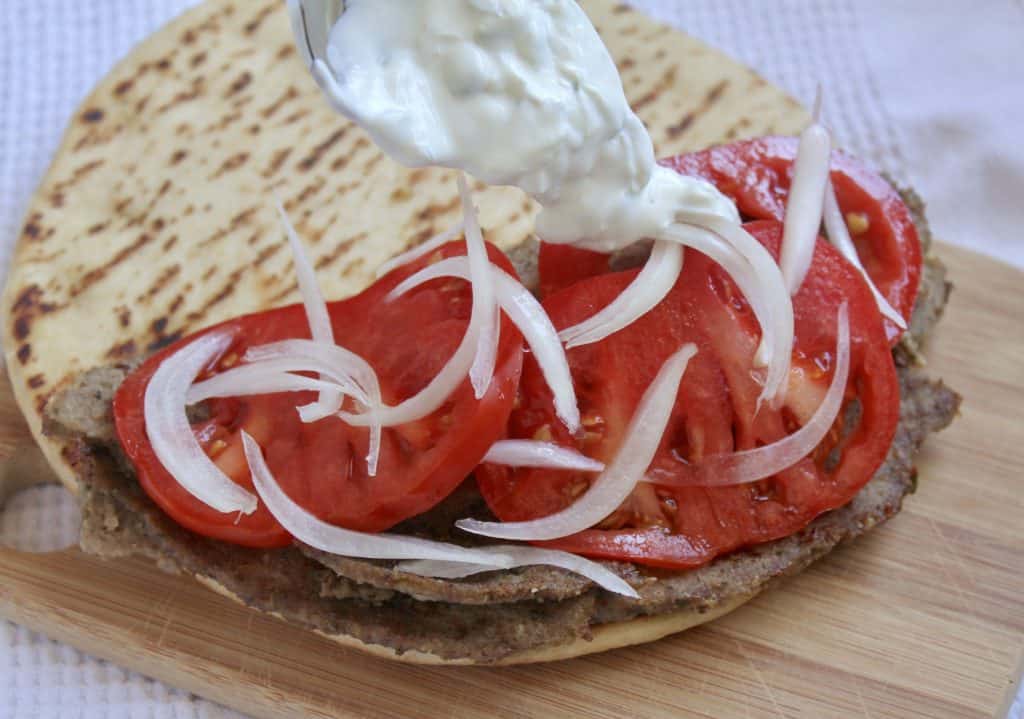
Top with some tzatziki sauce, lettuce and tomatoes, and white or red onion. I prefer a sweet onion on gyros. You could also put a little dressing on the tomatoes too (extra virgin olive oil, vinegar, salt, oregano).
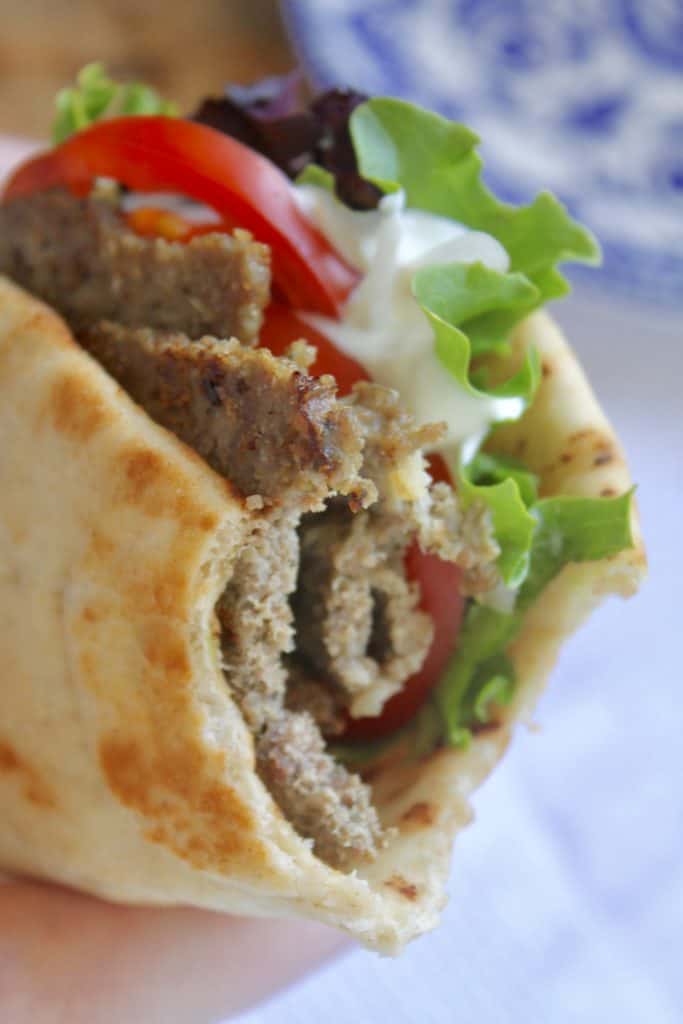
Serve homemade Greek gyros with rice pilaf, salad and/or fries. Alternatively, you can make a Greek salad and serve the gyro meat on top, if you want to skip the pita bread.
Sign up for my free newsletter (at the top of the page), and never miss another recipe or travel post.

Homemade Greek Gyros (Kebabs)
Ingredients
- 1 onion (medium, roughly chopped)
- 1 lb ground beef
- 1 lb ground lamb
- 2 cloves garlic (large, roughly chopped)
- 1 Tbsp marjoram (dried)
- 1 Tbsp rosemary (dried, or a small sprig of fresh, taken off the main stem)
- 2 tsp salt (Kosher or sea salt)
- ½ tsp black pepper (freshly ground)
To Serve:
- 1 cup tzatziki sauce (printable recipe card below)
- 8 leaves lettuce (butter or romaine)
- 16 slices tomatoes
- 8 slices sweet onion
Instructions
- Run the onion in a food processor for about 15 seconds. Place the onion in the center of a kitchen towel and squeeze out the juice and return the onion pulp to the food processor. Discard the juice.
- Add the meat, garlic, spices, salt and pepper to the onion, and process. Do so until it looks like a fine paste, about a minute. Place the mixture in a loaf pan and press evenly.
- Bake in a water bath (place loaf pan inside another pan filled with water) at 325°F (165°C) for about an hour and 20 minutes, or until the internal temperature reaches 170°F (77°C) when checked with a meat thermometer.
- Remove from the oven, drain the liquid, and place the loaf pan on a trivet or oven mitt. Cover the meat with aluminum foil for about 15 minutes.
- Place meat on a cutting board and slice as thinly as possible with an electric knife (using anything else would be much more difficult.)
- I added the following step myself as I think it mimics the rotisserie a bit more. Add a few slices to a nonstick frying pan (very little or no oil) and heat gently until the meat browns a little.
- In another pan, heat the pita bread.
- Finally, place the meat on one half of the pita, topped with tzatziki sauce, lettuce, tomatoes, and sweet onion slices.
- Serve Homemade Greek gyros with rice pilaf, or fries, and a Greek salad!
Notes
- You can use 100% lamb or 100% beef, if you don't eat one or the other.
- You could also put a little Greek dressing on the tomatoes (extra virgin olive oil, vinegar, salt, oregano.)
Nutrition
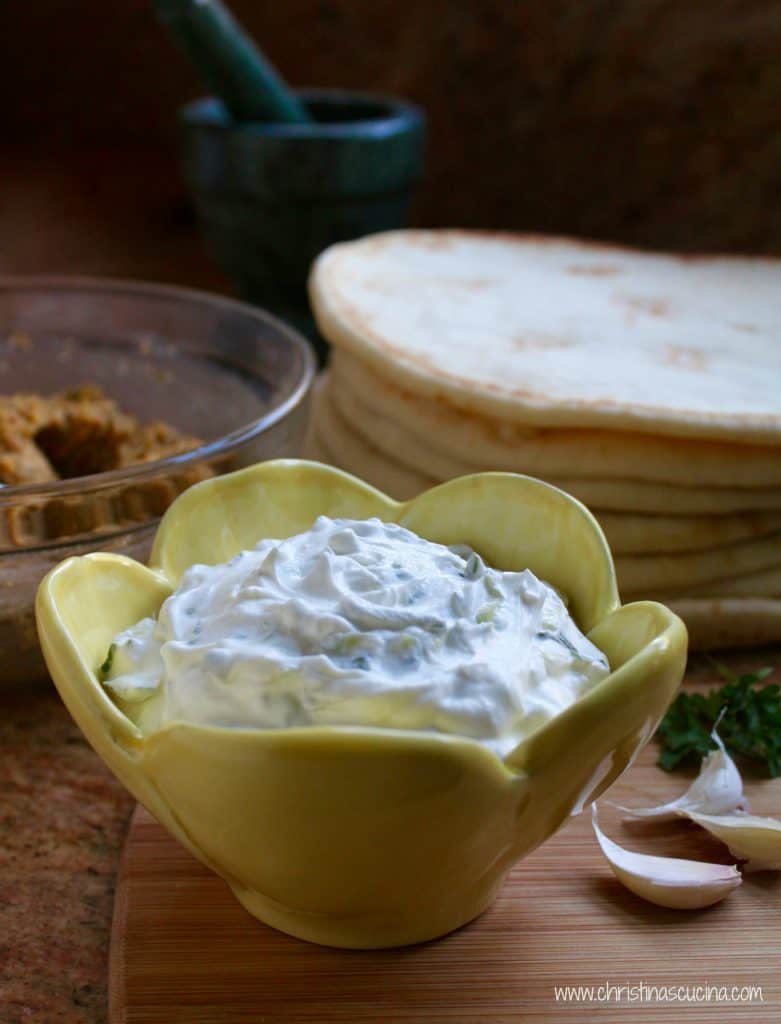
Easy Healthy Homemade Tzatziki Sauce (Cucumber & Greek Yogurt Sauce)
Ingredients
- 1 English cucumber grated (or about 3 Persian cucumbers, grated)
- 1 tsp salt Kosher (or more as needed)
- 16 oz Greek yogurt or labne
- 2 tsp garlic finely minced
- 1 Tbsp extra virgin olive oil
Instructions
- Place the shredded cucumber in a colander and sprinkle with Kosher salt. Place a plate and weight on top to press out the liquid, for about half an hour.
- Drain, then squeeze the cucumber in a kitchen towel or strong paper towel to remove the rest of the liquid.
- Next, place all the ingredients in a mixing bowl, except for vinegar. Mix well, and refrigerate until ready to use. Add a splash of vinegar before serving, if desired. This sauce is best chilled for at least three hours before serving.
Notes
- You can peel the cucumbers if you prefer, but I don't think it's necessary.
- Optional - add a dash or two of garlic powder or garlic salt.
Nutrition
And why not make baklava for dessert?!
*For UK readers: I’ve noticed that the UK doesn’t really have “gyros.” Rather, there’s the Turkish “doner kebabs” or just “kebabs”, which are more popular, although they are not the same as a gyro.
Christina’s Cucina is a participant in the Amazon Services LLC Associates Program, an affiliate advertising program designed to provide a means for sites to earn advertising fees by advertising and linking to Amazon.com.


Have made these several times now, and they are fantastic! Pan frying them at the end really does give it that authentic gyro taste. We raise our own beef and lamb, so I like to throw a little organ meat in here too. It doesn’t affect the taste, and it’s a great way to sneak in extra nutrition.
Good for you, Katherine! That’s awesome, and I’m so happy you like them so much! Thanks for the lovely review!
Kudos for mentioning that Alton Brown developed this recipe. I discovered it a long time ago and it’s one of my favorites of his! The meat added to a Greek salad is amazing.
Glad you have been making it, Sarah! One of my biggest pet peeves in the food blogging field is the lack of giving credit to the original source. I don’t understand why people think it’s a bad thing to do? I feel like I’m the messenger on recipes I’ve found elsewhere. Anyway, hope you find more of “my recipes” to enjoy!
I can’t get over how amazing this recipe was! It’s always a pleasure to learn from your blog!
You mention in step 3 about vinegar in the Tzatziki Sauce, but don’t list that in your ingredients.
Hi Christina, thanks so much for sharing this recipe! I am such a huge fan of gyros, and I always order them when we go to this Mediterranean place by my house. I can’t wait to try making them at home! And there’s nothing better than tzatziki sauce.
Great recipe. I didn’t feel like pulling out the food processor so I just mixed all the ingredients with a masher and by hand. It came out great after cooking in the water bath but took about 20 minutes longer to reach the required temp than estimated. ( I suppose it depends on the temp of the water you start with.)
Can’t wait to try. Why can’t you bake at 350?
Hi Lisa, given that I trust Alton Brown, I would guess that he probably tried different temps and settled on 325F. I always suggest trying a recipe as written the first time, THEN make your own changes and decide what you like better. Let me know what you think! :)